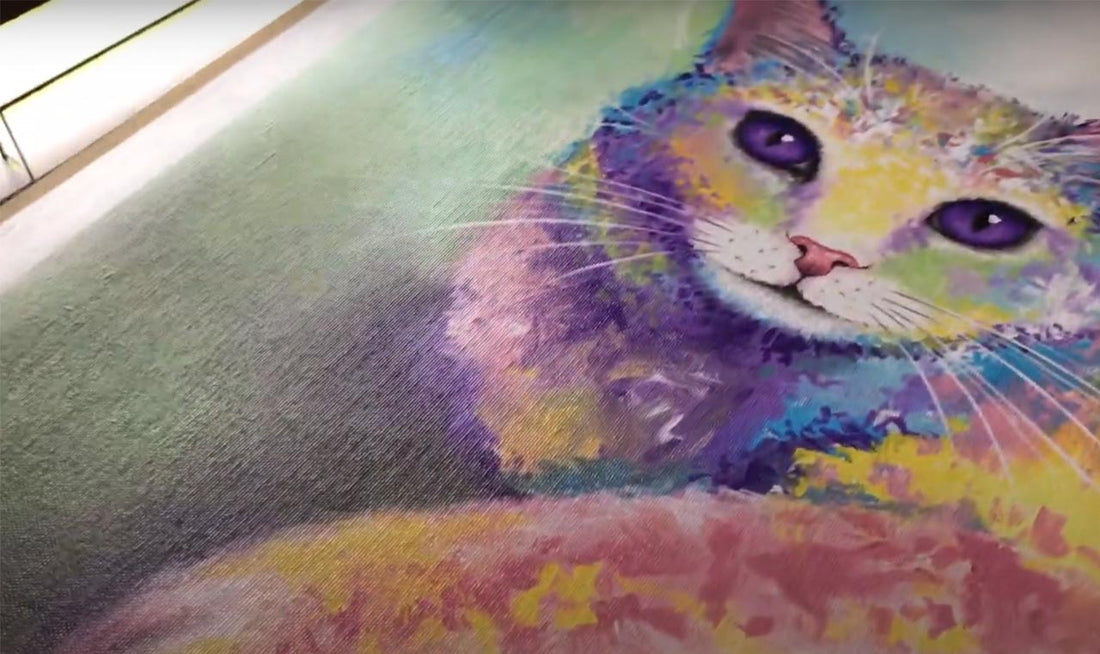
Image Credit: Krystle Cole
Your gallery-quality canvas print has arrived, and it is everything you expected and more. The colors pop, the custom cotton blended canvas is smooth, and it is fashioned on a handmade support frame built from 100% American materials. However, you want to give your canvas print an exclusive and unique look that you can only find in museums.
How a Varnish Layer Helps Your Canvas Print
A simple and easy way to further elevate your canvas print is by applying a layer of varnish. Applying varnish to your canvas print not only makes the colors stand out and pop, but even more, a varnish layer also creates a non-porous layer that lays atop the print itself.
A varnish layer does a few important things. Firstly, it protects the image from dirt, grime, dust, and even from cigarette smoke accumulating on the image and further fading it. Secondly, the varnish layer also creates a waterproof seal and will prevent yellowing if left in a sunny room. Finally, a varnish layer also reduces the amount of glare on your canvas print.
Applying Varnish to Your Canvas Print: Step by Step
You need no experience and only four inexpensive materials to varnish your canvas print, and it will be looking like a high-dollar piece of fine art in no time. The best part is that it is such a simple project that you can do it yourself. We will walk you through the steps needed to varnish your custom canvas print. The best part is that this process is scalable and can be applied to our canvas collages, wall displays, and triptychs too!
Materials Needed
Assuming you have already received your personalized canvas print, there are only four key materials.
- High-gloss varnish
- Paint roller
- Safety mask
- Silicone or latex gloves
Step One
Start by setting up your workstation and organizing your materials. Once the varnish is applied, it is challenging to remove the varnish. Be sure to set up on a surface that can get dirty, or cover the surface in painter's plastic to protect the surface.
Most consumer varnishers are toxic, so it is crucial to have ventilation while you are working. Open your windows and turn on a fan to help air circulate. It is inadvisable to do this outdoors, as debris may easily blow into the varnish while it is still wet, and become attached to your canvas print.
After you have set up your workspace, it is important to follow the proper safety precautions before opening and applying the varnish. Use a filtering mask to protect yourself from breathing in the harmful fumes and wear latex or silicone gloves to keep the varnish off of your hands.
Step Two
Now that you have set up your workspace and taken the necessary safety precautions, you are ready to apply the first coat of varnish to your canvas print. Start by pouring a small amount of the varnish onto the print. The amount needed will vary by the size of the canvas print.
Using your foam roller, spread the varnish across the print, adding more as needed. After you have applied a thin, but even layer to the top of your canvas print, you are ready to apply varnish to the sides of your print.
Since most canvas prints come pre-stretched to the frame, you will have to carefully lift your canvas print to varnish the sides. While wearing gloves, carefully grab the unvarnished sides of the canvas and stand it upright. Apply a small amount to one of the sides and use your roller to spread the varnish to all four sides.
Upon applying the varnish to the sides, carefully place your canvas print face-up on the table and allow the first layer to dry for one hour. Be sure to immediately rinse your paint roller with water to keep the varnish from drying on your roller.
Step Three
After you have allowed the canvas print to dry for an hour, you are ready to apply the second coat. Start by evaluating the first coat and determining if there are any streaks or missed spots. If so, be mindful to address these areas while applying the second coat.
Follow all of the instructions from the previous step to apply the second coat. This will fix any blemishes from the first coat and it guarantees a perfect shine at the end. After the second coat has dried for one hour, you are ready to hang your custom canvas print back on the wall.
Conclusion
Adding varnish to a canvas print allows your memories to shine forever. This helps to protect the colors and draws more attention to your canvas prints for years to come. Thank you to NeuroSoup for providing the wonderful video tutorial, and we can’t wait to see your custom canvas prints shine!


