Canvas Prints
Upload Your PhotoHow To Make Custom Labels
The DIY Guide to Labeling Brilliance: From Blank Sheets to Branded Beauties
In a world filled with visuals, custom labels are the unsung heroes of recognition. They're not just tiny pieces of paper; they're the silent ambassadors of a brand's message, the storytellers of homemade gifts, and the organizers of life's clutter – all personalized just for you. Small business owners, DIY enthusiasts, and crafters, prepare to turn the ordinary into the extraordinary. We're about to unravel the charm of making custom labels that transform items into signature staples.
Designing Custom Labels with Microsoft Word: A Crafty Starting Point
You don't need a professional design suite to create eye-catching labels. Microsoft Word, a familiar friend to many, can be your creative canvas, but it's all about knowing the right strokes and tricks. Ready to learn how?

Step 1: Select the Perfect Shape
Open a new Word document and head to the 'Insert' tab. Click 'Shapes' and pick a shape that suits your brand or project – simple rectangles for a classic look, circles for a playful vibe, or stars for a touch of magic.
Step 2: Style It Up
Now that you have your shape, it's time to make it pop. Right-click on your shape and select 'Format Shape'. Play with the 'Fill', 'Outline', and 'Effect' options to match your label's personality. Add a pattern or your logo as the fill, and adjust the transparency to create a watermark effect.
Step 3: Layer Your Design
Layering brings depth to your label. Duplicate your shape and resize it slightly. Give this layer a different color or a gradient fill. Position this behind your original shape for a sophisticated look.
Step 4: Add Text
The pivotal step – communicating your message. Select 'Insert' and choose 'Text Box'. To maintain legibility, start with a large, bold font for the key information – your product name, tagline, or a call to action. Add a smaller, more elegant font for finer print like the ingredients or contact details.
Step 5: Print with Precision
Printing can make or break your label. It's essential to use high-quality paper and to set your printer to the highest resolution. Do a test print on regular paper to check alignment and sizing before using your special label paper. Make sure to handle the adhesive side well to avoid fingerprints or smudging, and when it's all set, print your custom labels for that instant professional touch.
The StickerApp Labeling Experience: Simplify, Upload, Order, Admire
Step 1: Choose Your Medium
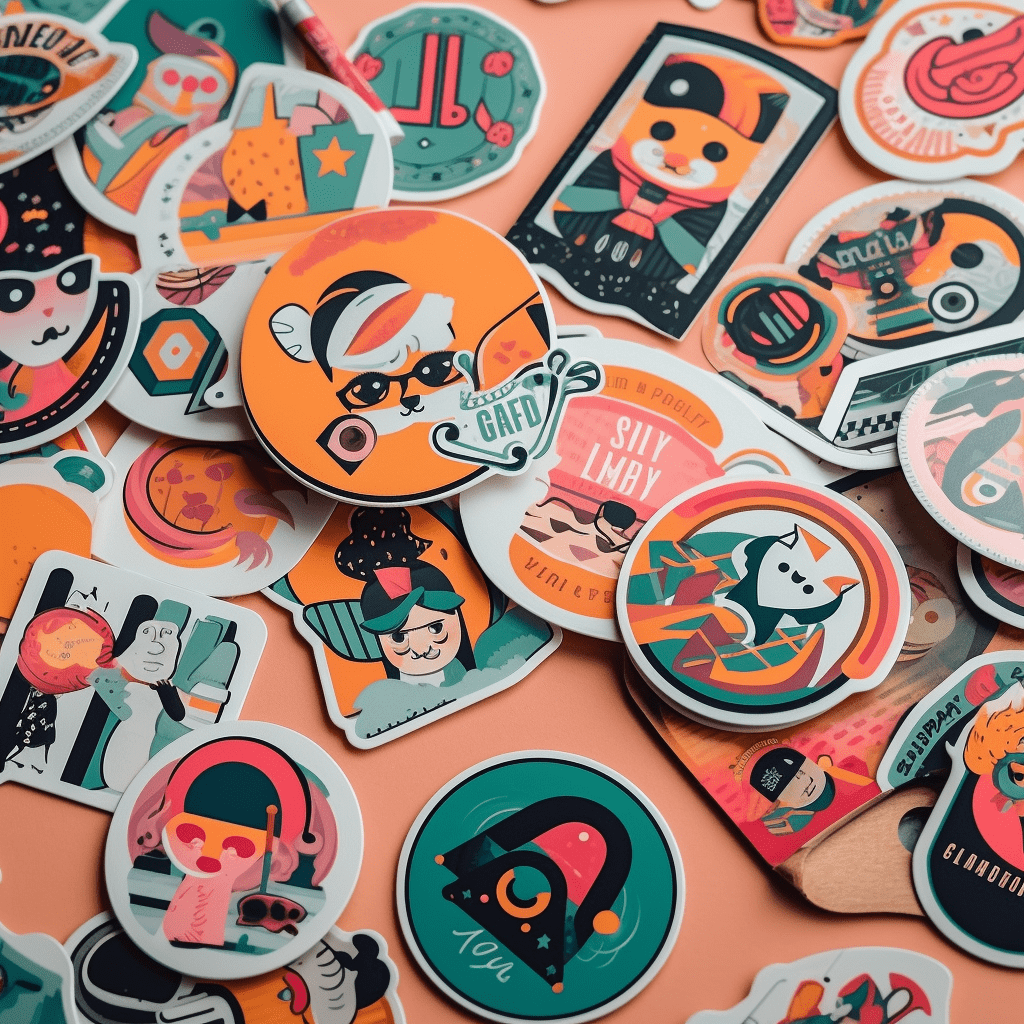
StickerApp offers a range of options – from contour-cut vinyl stickers for products to sheets of paper for packaging labels. Decide what best showcases your design and resonates with your brand.
Step 2: Upload Your Designs
Once you have your dimensions from Step 1, it's time to bring in your design. Ensure it's high-resolution and fits within the safe lines. Multiple designs can be placed on one sheet for variety, making it great for testers or collections.
Step 3: Save Your Designs
StickerApp allows you to save your designs on their platform. This feature is more than just a safety net; it's a time-saver if you want to reorder or update a design down the line.
Step 4: Order and Await
With your sticker designs saved, all that's left is to place your order. The process is straightforward, and you can keep track of your shipment in real time. Then the best part – patiently waiting for that delivery and feeling excitement bubble as you unwrap your label masterpieces.
Avery Labels – The Art of Professional in-house Labeling
Step 1: Set Up Shop
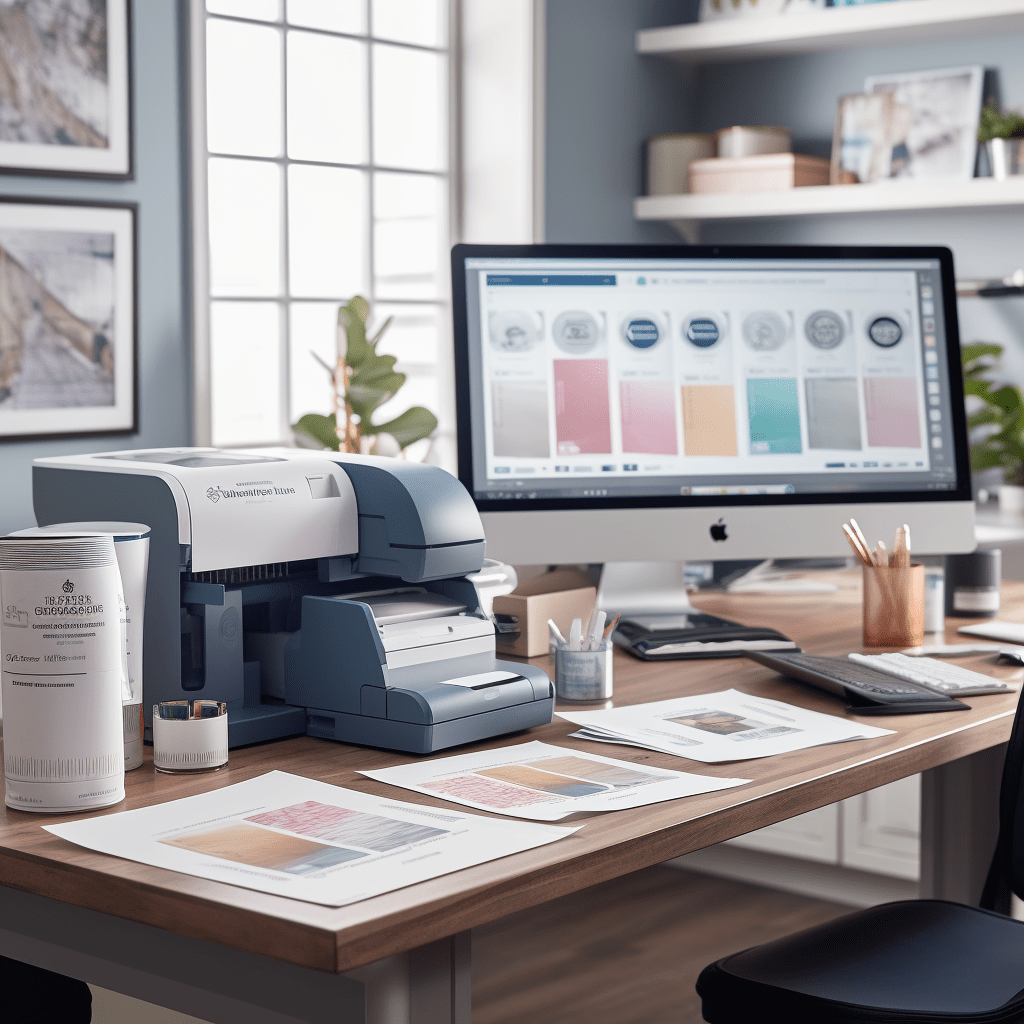
Start by downloading Avery Design & Print. It's compatible with Windows or Mac OS, and it's free. Select the type of product you need – whether it's labels, cards, or tabs – and the product number that matches your paper.
Step 2: Play with Templates
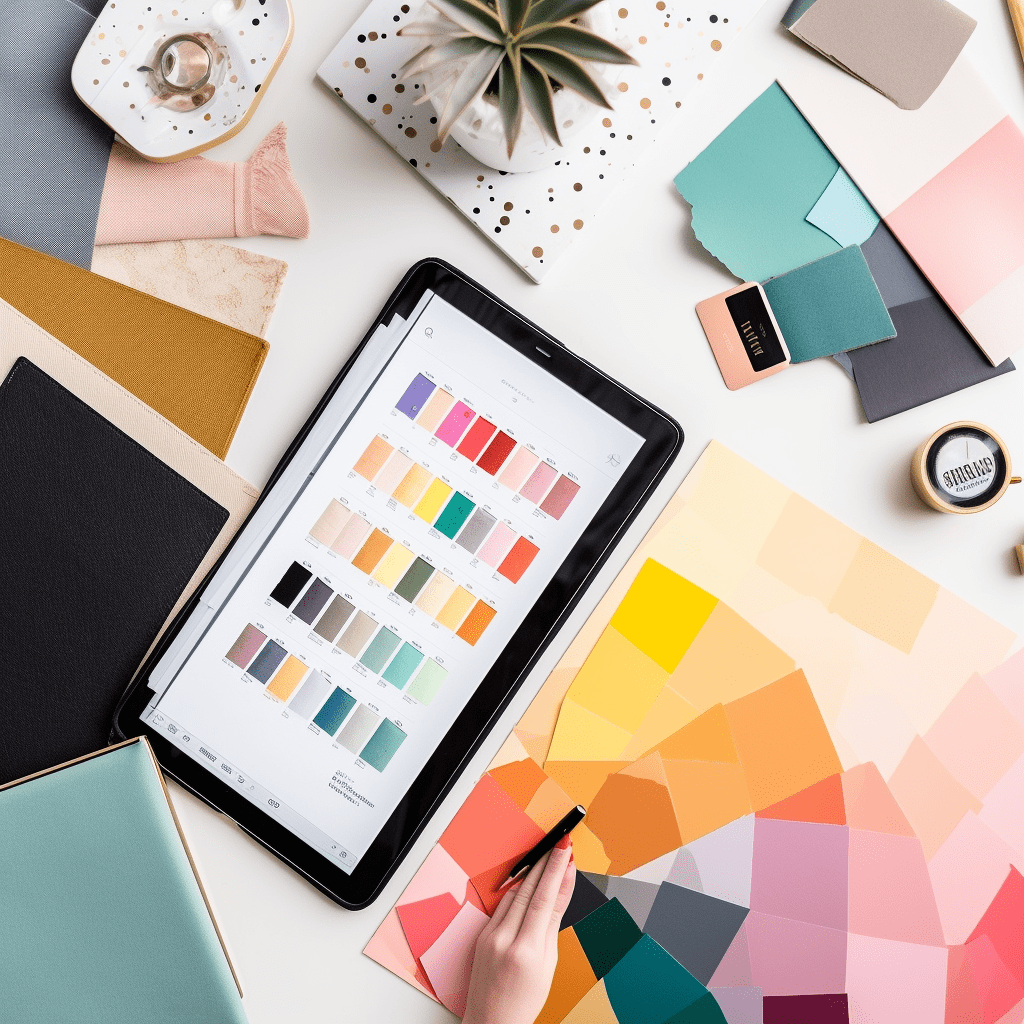
Templates are your launching pad. Choose one that resonates with the vibe you want to achieve. Select a color scheme to match your brand and start replacing the placeholder text with your own.
Step 3: Personalize Aggressively
Drag and drop your logo. Shift elements around until it feels just right. Use the guidelines to maintain consistency and ensure your labels look professional and uniform. Once satisfied, save your project.
Step 4: Ready, Set, Print
Review your design for any errors or tweaks. Then, print on your Avery paper according to the paper size and layout guide. Avery's system is designed for precision, so trust the process, and marvel at your personalized labels.
Elevating Brand Aesthetics through Custom Labels
Product packaging is the first impression of your brand, and custom labels are the cherry on top, the bow that ties it all together. It's much more than a visual; it's a tactile experience, often with emotional resonances. Here's how to ace your packaging game.
Design with Purpose
Each design element on your label should serve a functional or branding purpose. Clipart that doesn't relate, text that's difficult to read, or colors that don't resonate can all create discord in your message.
Content is King
Remember, the label’s content is as important as its design. Include all necessary information, but do so in a hierarchical way that emphasizes the most critical aspects.
The Font and the Furious
Don't underestimate the power of typography. Fonts can convey the vibe of your brand – sleek and modern, vintage and hand-crafted, or festive and fun. Ensure it's readable, even at small sizes.
Color Me Brand
Be consistent with your branding colors but be mindful of the label's context. You may need to adjust the brightness or saturation for a label design in a specific environment, ensuring your label doesn't clash with your product color.
Print with Clarity
Ensure your printer is up for the job. Invest in high-quality ink or toner. Test print to check for color accuracy and the vibrancy of your design. Remember, the final label should be as clear and sharp as your brand's vision.
Canva – The Designer's Den for Custom Labels
Step 1: Canva Creation
Log in to your Canva account and start a new project. Select the 'Label' template to have the dimensions set for you. It's a small thing, but it saves time and minimizes the chance of error.
Step 2: Label Layout
Play with the grids and drag guides to create your label's layout. This is where your design will live, so ensure that it's balanced and cohesive.
Graphics Galore
Canva's library is packed with millions of graphics. Search for elements that resonate with your brand. If your digital art skills are rusty, fear not – there are ready-made stickers and illustrations you can use.
Text Tactics
Add text boxes and type your information. Canva boasts an extensive selection of fonts. Play around until you find the ones that are in tune with your brand's voice.
Print Perfection
Once you're satisfied, download your design. If you're printing at home, ensure your printer settings are aligned with your sticker paper's specifications. If you're sending it out, choose Canva's print service for professional results.
Labeling Legends: The Stories Behind the Stickers
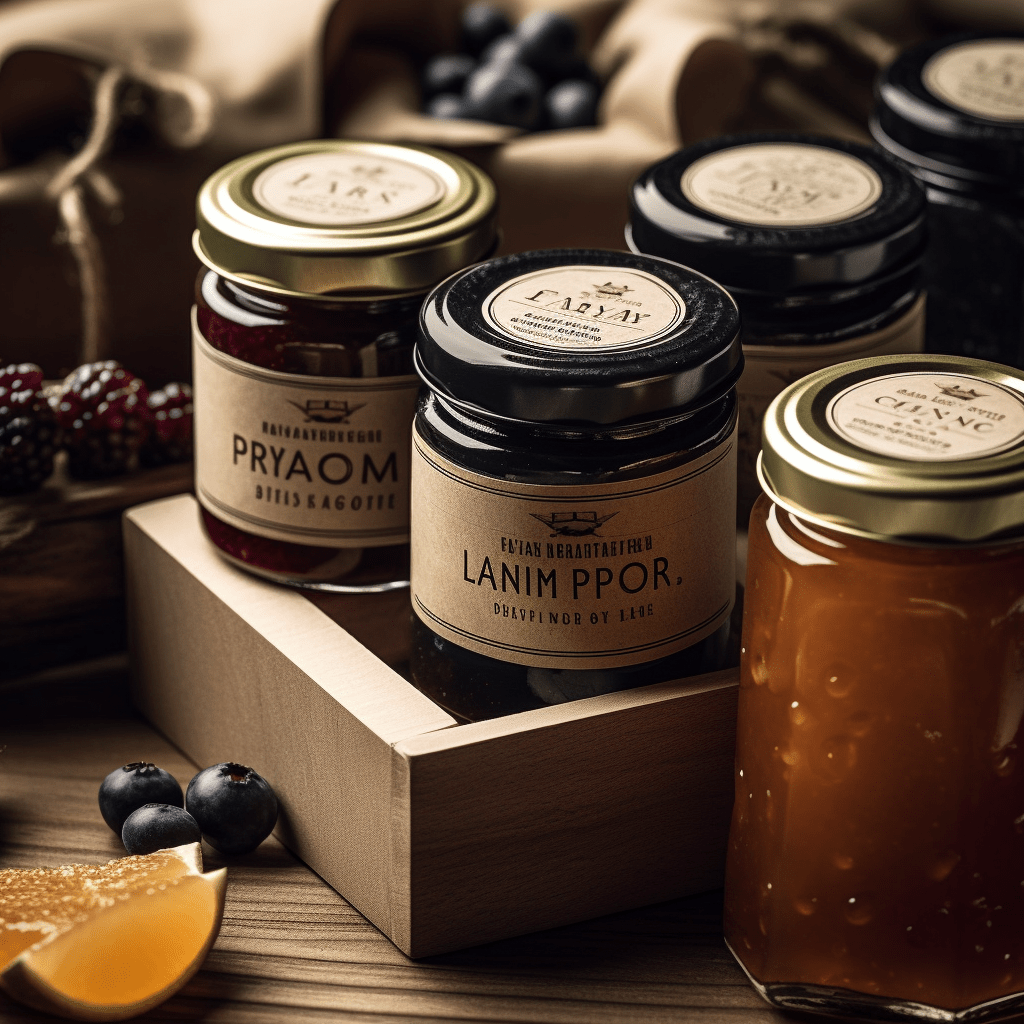
The labels you slap onto your wares, whether you're a burgeoning bakery or an Etsy entrepreneur, tell a story. They speak of quality, personal touch, and attention to detail. Every label is a brand ambassador, silently marketing what you stand for. It's more than putting your name on something; it's imprinting your identity.
The craft of making custom labels is an art form encapsulated by modern tools that elevate individual creativity. It's a digital dance of color, shape, and texture – all orchestrated to captivate and convey. Whether you're bringing a brand to life or adding a personal touch to a present, these label journeys are the first step towards making your mark, quite literally, in the world.
Nostalgic and sentimental, yet firmly rooted in the now, we've walked through the modern labeling landscape, inviting you to partake in the joy and satisfaction of making custom labels. It's a craft that bonds makers and brands to their audiences, and it's a simple yet profound way to celebrate the little things in life – those that are often overlooked but speak volumes when they bear a name, a design, a story.

