Canvas Prints
Upload Your PhotoHow To Make Your Own Decals
The Ultimate Guide to Crafting Custom Decals for Scale Modeling
Modeling is not just a hobby; it's an immersive experience where every detail counts. From the meticulous assembly of parts to the precise application of paint, scale modeling enthusiasts pride themselves on the realism and accuracy of their creations. One key element that can elevate a model from good to exceptional is the application of custom decals.
Whether you're a seasoned modeler looking to add a personal touch to your work or a newcomer eager to explore this crucial aspect of the hobby, this comprehensive guide will walk you through the art of crafting and applying custom decals. By the end, you'll be able to create stunning, professional-looking models that are truly one-of-a-kind.
Section 1: Crafting Custom Decals with a Personal Touch
Before you even think about printing your decals, you must consider the design. This is the stage where your creativity can really shine, allowing you to add a personal and unique flair to your models.
To create decals, you'll need to start with a digital design. This can be a logo, insignia, or any other graphic element you want to include on your model. But what’s the best approach to the design process?
First, focus on accuracy. If you're replicating a real-world insignia, historical accuracy is paramount. Research is key, and the internet is a treasure trove of resources for finding reference images and specific details about the subject matter.
Next, think about scale. Often, when designing at a smaller scale such as 1/72 or 1/48, fine details can become problematic. Simplicity in design is not just an aesthetic choice but a practical one.
Finally, consider visibility. Once the decal is applied to the model, will the design be easily visible? High contrast designs on opposite color backgrounds ensure clarity and impact.
Creating decals is a multistep process that involves choosing the right paper, preparing the design, and printing. The following detailed steps will guide you through this process.
Choosing the Right Decal Paper
Decals are typically printed on one of two types of paper, each suitable for specific applications:
- Inkjet Decal Paper: Suitable for most models, inkjet paper requires sealing with a clear coat to prevent the ink from running when applied to the model.
- Alps Decal Film: A more expensive option, but it produces far more resilient, professional-looking decals that don't require extra sealing.
For most hobbyists, inkjet paper is sufficient. You can find specialized decal papers designed for inkjet printers that yield excellent results.
Designing Your Decals
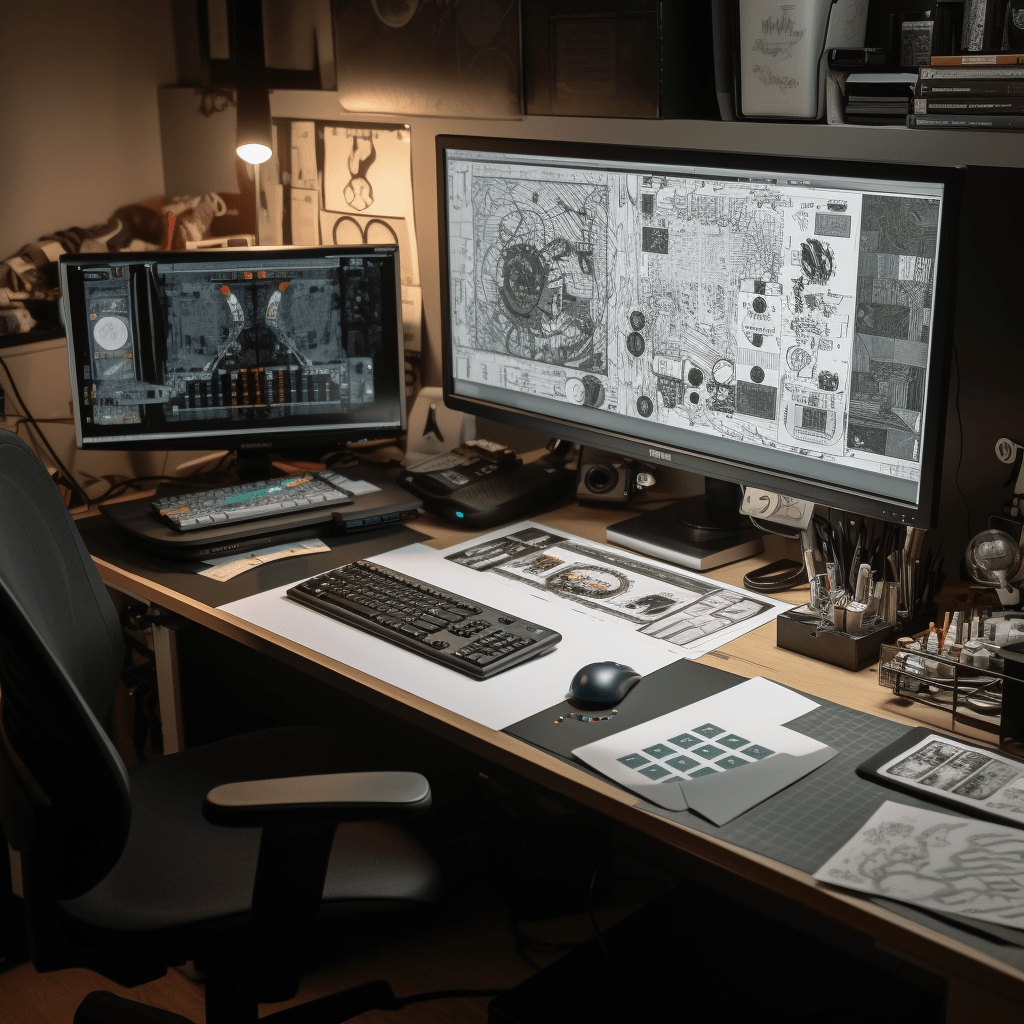
For designing decals, you can use vector graphic software like Adobe Illustrator or CorelDRAW, which allows you to scale your designs without losing quality. If you're not familiar with these tools, simple graphic software like Inkscape or Adobe Photoshop can also be used.
Your designs should be created in a high-resolution file format, ideally with a transparent background. This ensures that only the printed elements of your decal will show on your model.
Remember to keep the safe area in mind. Decal paper often has a clear border that cannot be printed on. Ensure any essential elements of the design are not too close to the edges.
Preparing for Printing
Now that your design is ready, it’s time to prepare it for printing:
- Resize it to fit the scale of your model.
- If necessary, duplicate elements to allow for more than one decal on a sheet.
- Mirror the design if it includes text or directional elements.
Once your file is ready, print a test page on plain paper to check for any issues. Adjust the design as needed. When you're satisfied with the test print, you can move on to the decal paper.
Section 2: Step-By-Step Tutorial for Decal Creation
With your design complete, the next step is printing your decals.
Printing Your Decals
Print on the decal paper following the manufacturer's instructions.
Use the highest quality print setting available to ensure sharpness.
Allow the decals to dry completely before handling.
Sealing Your Decals
After printing, seal the decals to protect the ink and make them less prone to tearing during application. You can do this by spraying a clear coat over the entire sheet or by brushing on a clear varnish.
Cutting Your Decals
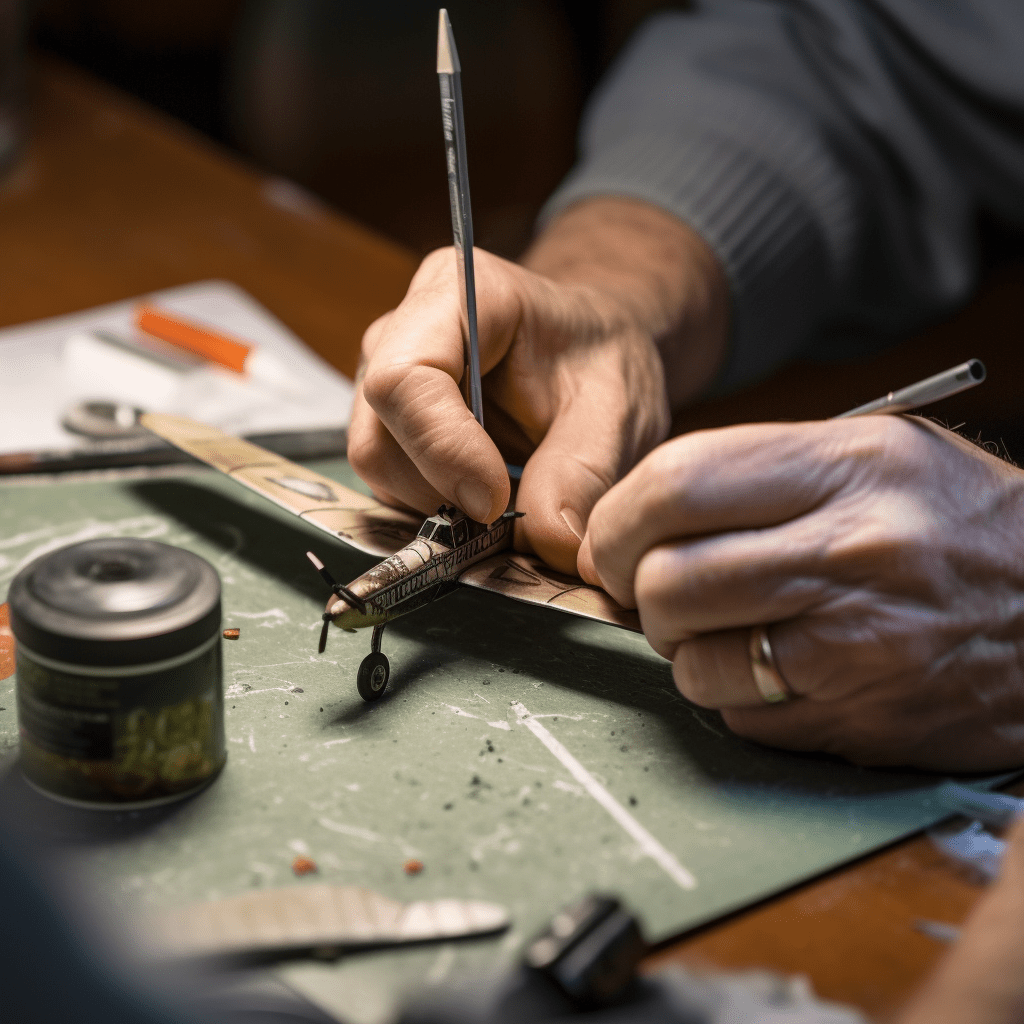
Once sealed, cut out the decals carefully, leaving as little clear film around the design as possible. A sharp hobby knife and a steel ruler will help with this precision work.
Applying Your Decals
Prepare the surface of your model by making sure it's clean and smooth. Using a decal setting solution, apply the decal to the model and gently smooth it down with a damp cotton swab or cloth. Apply a decal fix solution to keep the decal in place.
Finishing Touches
After applying your decals, give your model a final clear coat to seal them in. This not only protects the decals but also helps blend them into the model's surface.
Section 3: The Transformative Power of Custom Decals
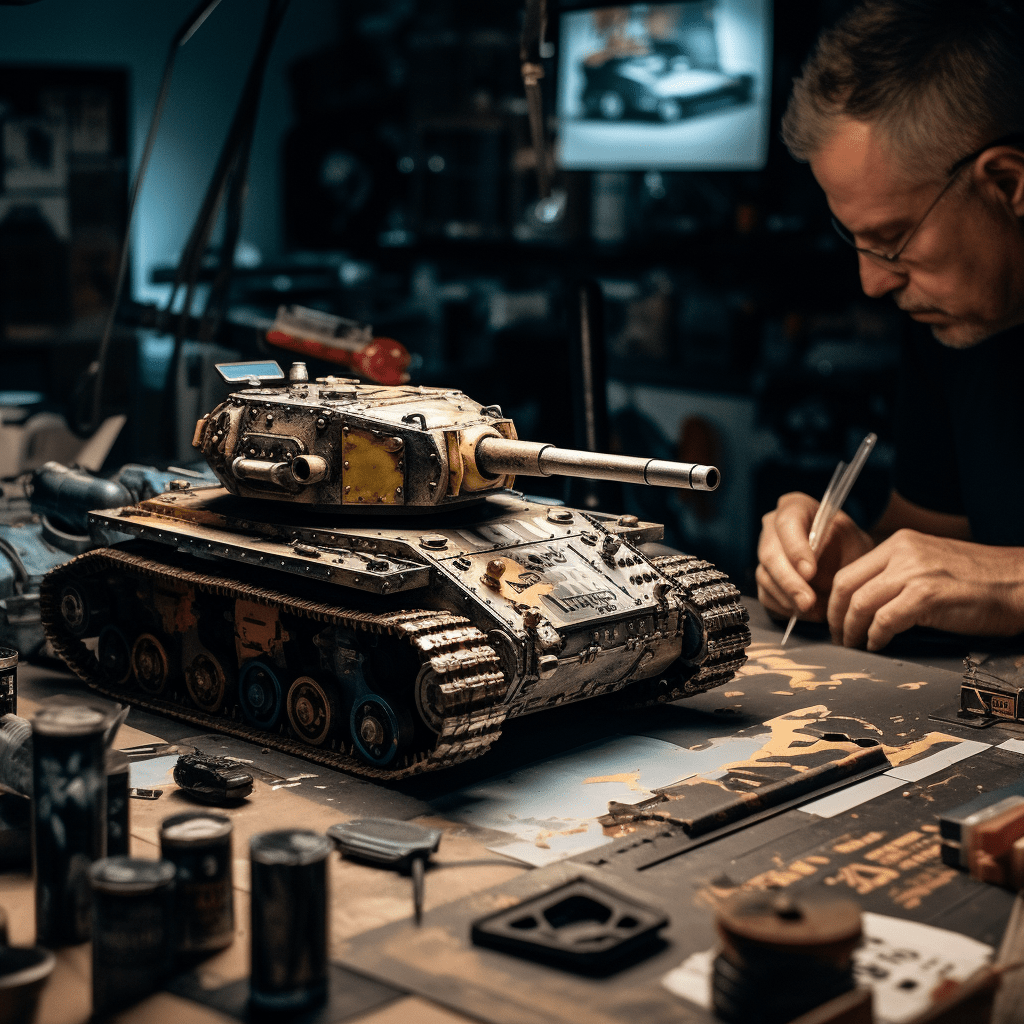
The addition of custom decals can completely transform your scale model, adding depth, character, and a personal story to your creation.
Creating a Story Through Decals
Each decal tells a part of your model's story. By carefully choosing and placing your decals, you can create a narrative that brings your model to life. Think about where real-world markings would go and what they might say about the history or purpose of the subject.
Adding Weathering and Realism
Decals can also be used as a starting point for weathering techniques. After applying the decal, you can gently sand the edges to simulate wear and tear. This approach adds a level of realism that is difficult to achieve with painted-on markings.
Section 4: Essential Equipment for DIY Decal Making
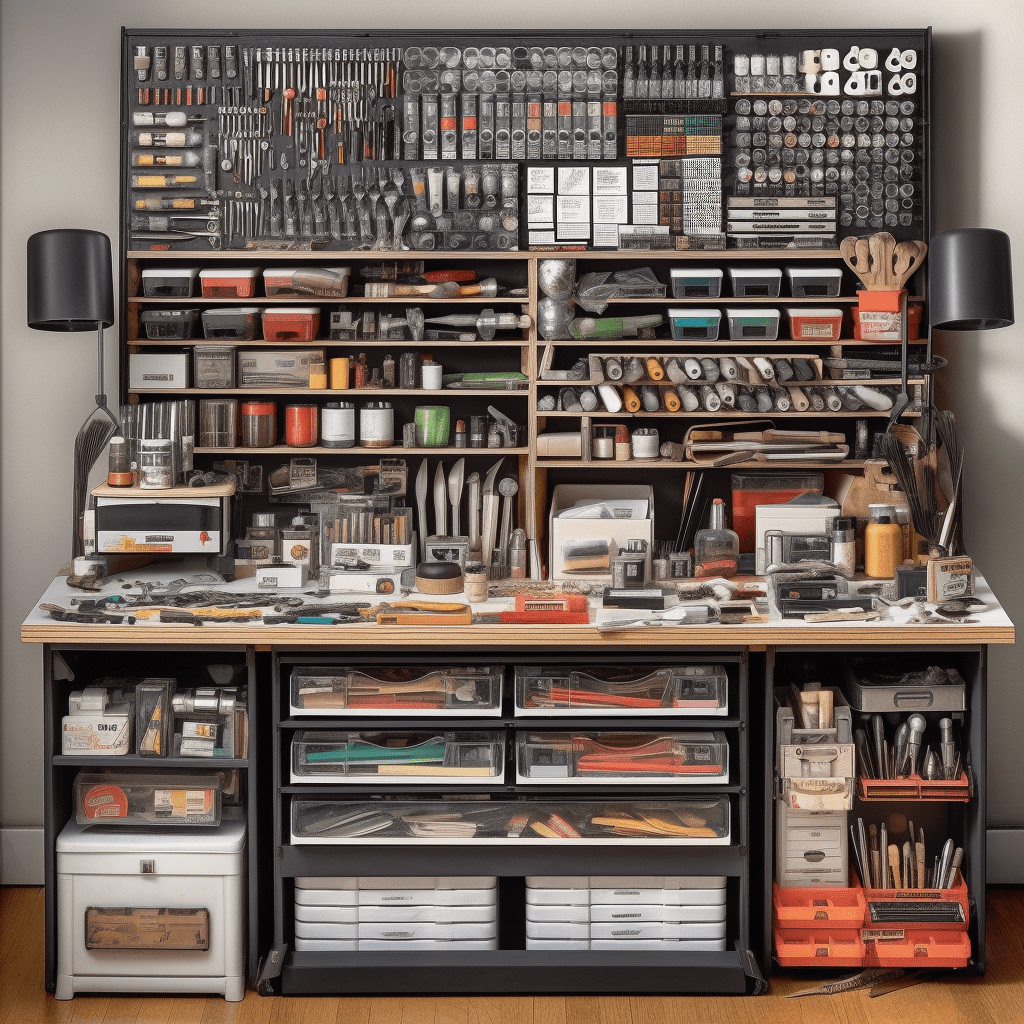
When setting up a space to make your own decals, you'll need a few key pieces of equipment to ensure your success and the quality of your work.
Choosing the Right Printer
An inkjet printer is the most common choice due to their affordability and the availability of decal papers designed for them. When selecting a printer, consider printing quality, especially if you're working on small scale models.
The Importance of Good Software
The software you choose can make or break the decal making process. Look for software that is user-friendly, yet powerful, with the ability to work with vector graphics and handle text and image design.
To enhance your capabilities:
- Adobe Illustrator: A powerful tool commonly used for professional graphic designs.
- CorelDRAW: A versatile vector-based graphic design software with broad applications in many design fields.
- Inkscape: A free, open-source alternative to the above professional software, suitable for hobbyists and beginners.
The Quest for the Right Paper
Decal paper is a critical component of your work. Consider the finish of the paper (gloss or matte) and its thickness. Most importantly, ensure it is compatible with your printer for optimal results.
Section 5: Specialized Techniques for Model Decals
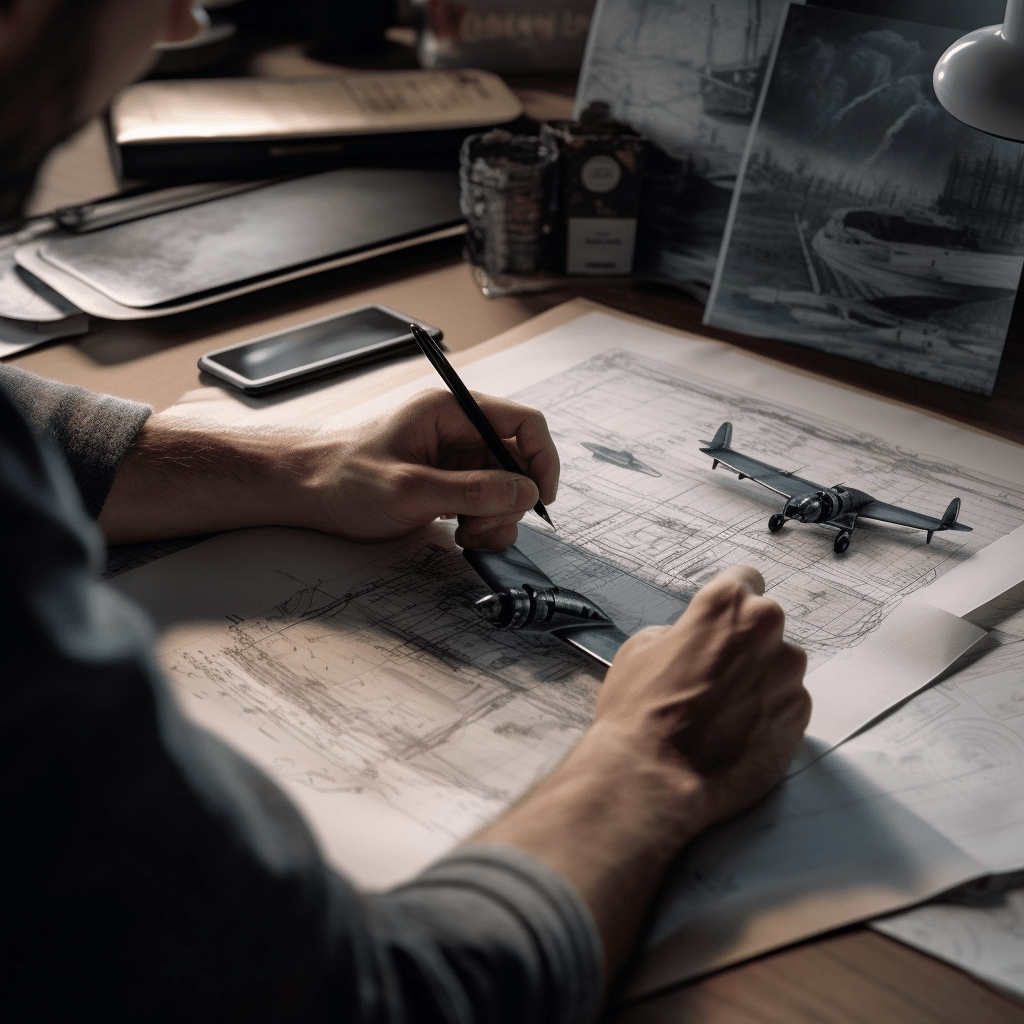
Different models and scales present unique challenges and require varying techniques to create and apply decals.
Challenges of 1/72 Scale Models
In this smaller scale, details can become incredibly minuscule. Designing and applying decals becomes a delicate task that requires patience and precision.
The recommended techniques include:
- Use a magnifying lamp to aid in design and cutting out the decals.
- Apply decals in several very thin coats of setting solution to avoid over-soaking.
- Employ a decal setting solution and decal fix solution to ensure the decals conform to the model's contours and stay in place.
Decals for Dark Color Surfaces
Decals designed for lighter surfaces may not be visible on darker foundation colors. To address this:
- Choose a decal paper specifically designed for dark surfaces, which includes a white or colored backing to ensure the design pops.
- Painting a white or light-colored base where the decal will go can help increase its visibility.
Achieving Metallic or Colorful Effects
For decals that require metallic sheen or other special color effects, consider:
- Metallic inks or specialty finishes available for certain decal papers.
- Applying a gloss coat before and after the decal application for a professional, uniform look.
Section 6: Revitalizing Your Scale Modeling with DIY Decals
The opportunity to create custom decals opens the door to unlimited possibilities for your scale modeling.
Personalizing your Projects
By crafting your own decals, you can add personal touches and unique elements to your models. Whether it's a specific emblem, a name, or a historical insignia, personalization sets your models apart from the rest.
Enhancing Detail and Realism
Pre-painted decals can lack the subtleties and three-dimensional appearance of model paintings. Custom decals allow you to control every aspect of the design, resulting in a higher degree of detail and realism.
Boosting Creativity
The process of creating decals spurs creativity and pushes you to explore new techniques and design elements. This creative exercise not only benefits your model-making but can also have a positive impact on other areas of your life and work.
Conclusion
The ability to create custom decals is a powerful addition to the toolbox of any scale modeling enthusiast. It allows you to express your creativity, pay attention to the smallest details, and ultimately, create truly unique and compelling models.
Remember, practice makes perfect. Don't be discouraged if your first attempts are not flawless. Refine your techniques, experiment with different approaches, and most importantly, enjoy the process. Happy modeling!

