Canvas Prints
Upload Your PhotoMake A Shirt
The DIY Delight: A Complete Guide to Crafting Your Own Custom T-Shirts at Home
If your wardrobe is a window to your soul, then surely every piece in it is a blank canvas waiting to tell a story. In today's fast-fashion world, creating your own custom t-shirts at home is not just a statement, it's a sanctuary for your individuality and creativity. Whether you're a sustainable fashion advocate, a budding artisan, or a savvy entrepreneur, the act of crafting a t-shirt from the cozy nook of your home offers more than just a garment—it's an experience, an expression, and even a pathway to financial and environmental conscientiousness.
Your quest to make a shirt, whether for personal use, gifting, or a burgeoning business, is a voyage brimming with adventure, creativity, and purpose. Join us as we thread through the fabric of this craft, guiding you through every stitch and design, showcasing the endless possibilities that open when you decide to make your own custom wears.
Reinventing Your Wardrobe: How to Make Custom T-Shirts at Home
The first chapter of your t-shirt making odyssey is all about the artistry. We’ll explore multiple techniques to transform bland tees into intricate pieces of self-expression.
Get Creative with White Toner Transfer Printing
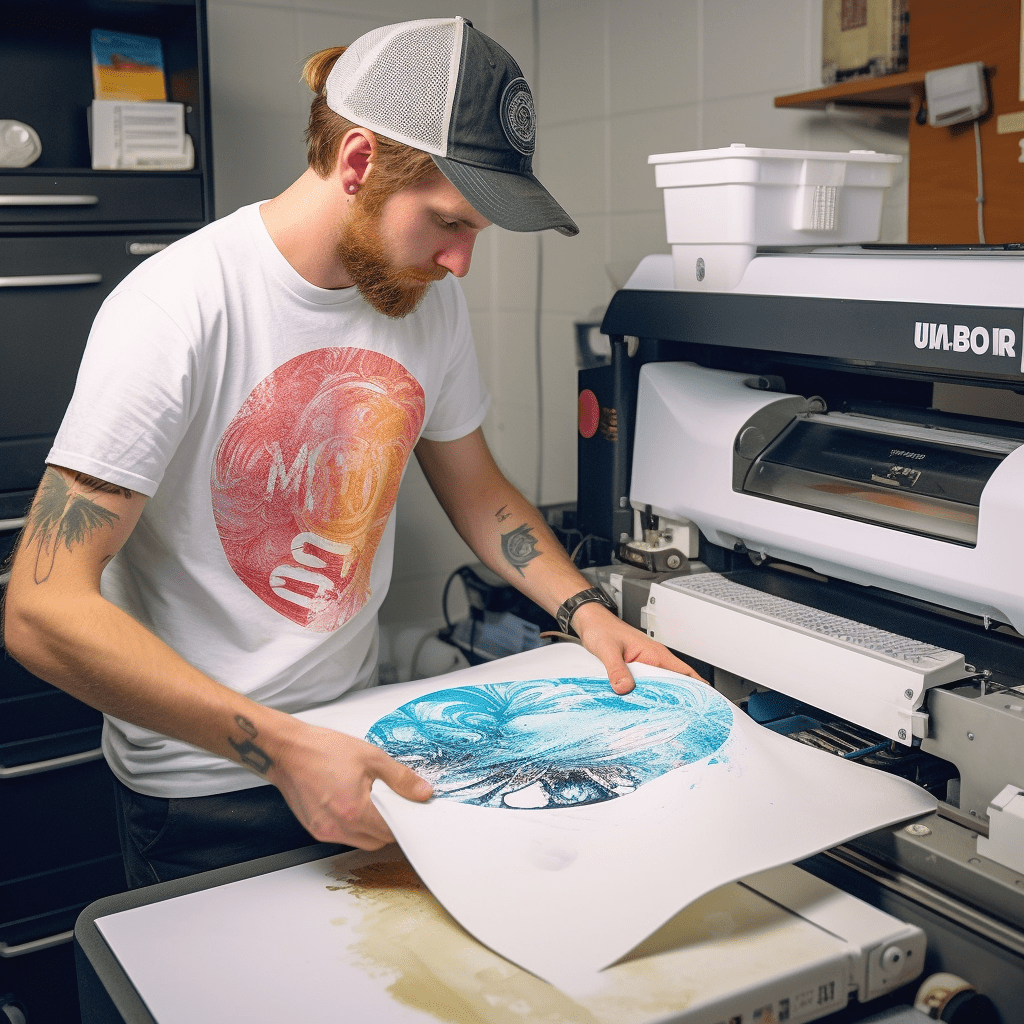
White toner transfer printing is a great starting point for beginners. It’s a relatively simple method that uses a special printer to produce high-quality, full-color designs on a variety of fabrics.
The Process in a Nutshell
- Design your graphic on a computer.
- Print the design on the white-toner paper.
- Apply the print to the fabric using a heat press or iron.
- Peel off the transfer paper, leaving your design behind.
Tips for Success
- Ensure the fabric is pre-washed to remove any residues.
- Use a firm, even pressure when applying the transfer.
- Practice good printer maintenance for optimal color quality.
Pros and Cons
Pro: Good for small orders. Versatile results with varied images/sizes.
Con: Can be expensive for high volumes. Limited to light-colored fabrics.
Direct to Garment Printing (DTG)
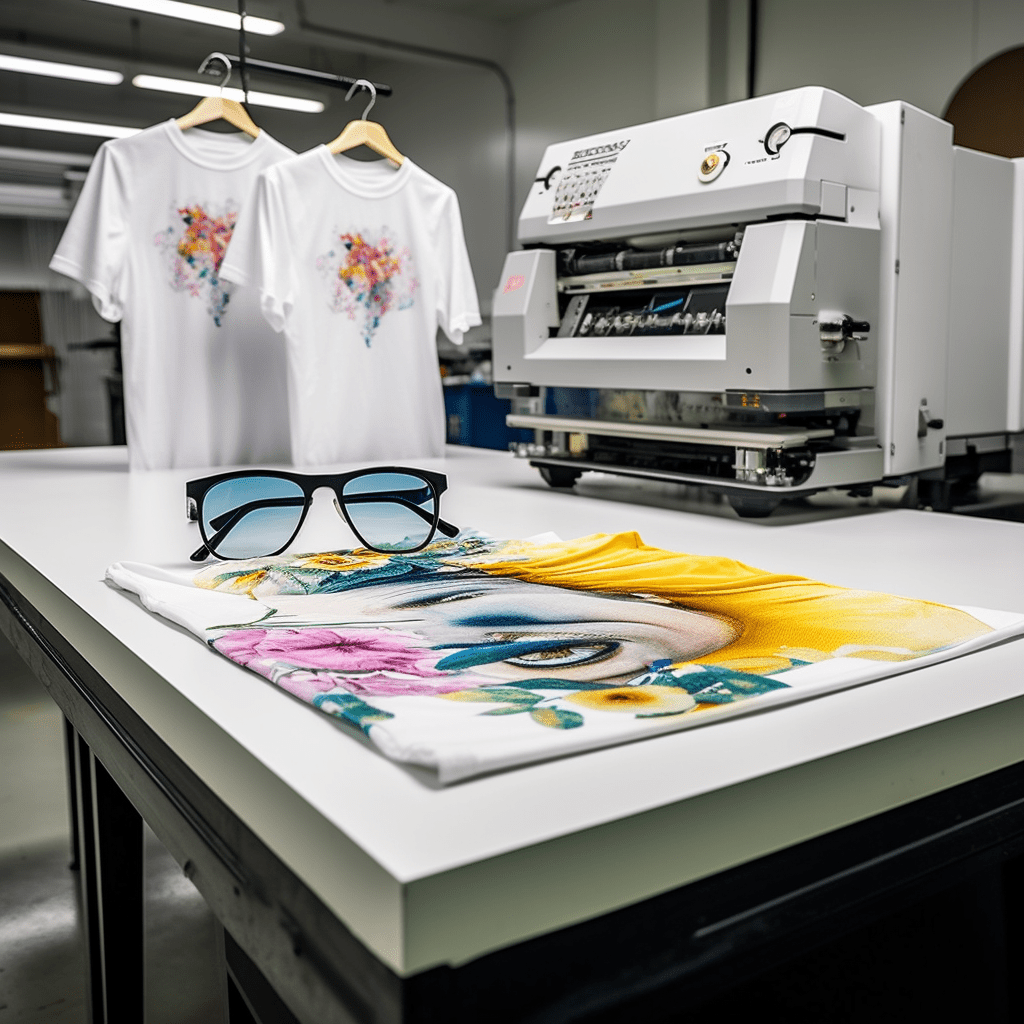
DTG is a method that, much like printing a picture on paper, directly applies the ink to the fabric’s surface, resulting in a soft and durable finish.
The DTG Process
- Stabilize the fabric with a platen.
- Load the t-shirt onto the flat printer bed.
- Print the desired design.
- Cure the ink with a heat press or conveyor dryer.
Tips for Success
- Opt for 100% cotton or a 50/50 cotton-polyester blend for optimal results.
- Choose a high-quality, high-density ink formulation.
- Adjust your printer settings and pre-treat fabric if needed.
Pros and Cons
Pro: Ideal for complex, multi-color designs. High-resolution graphics.
Con: Can be costly to start. Not cost-effective for single or low-quantity prints.
Embroidery: The Classic Craft
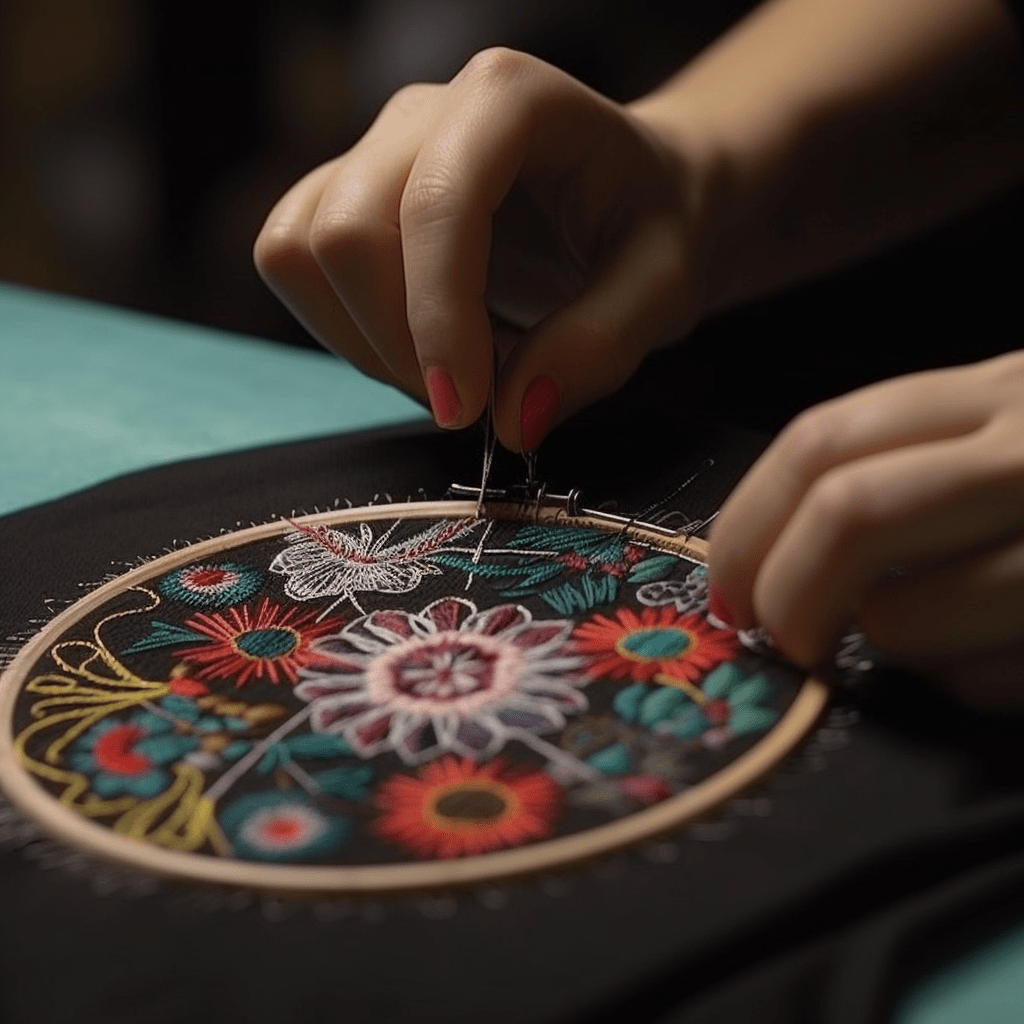
For those who appreciate the tactile quality and timeless look of embroidered designs, this method proves that tradition never goes out of style.
Embroidery Basics
- Use an embroidery hoop to stabilize the fabric.
- Transfer your design onto the fabric.
- Choose your thread color and stitch away.
Tips for Success
- Match the embroidery thread’s weight and fabric’s texture.
- Keep your stitches even and tight for a professional finish.
- Use a backing fabric for stability and resistance to damage.
Pros and Cons
Pro: Textured, long-lasting designs. No fading or peeling.
Con: Can be time-consuming. Limited color gradients.
Vinyl Heat Transfer: The Beloved Beginner's Choice
Vinyl heat transfer is the darling of beginners for its simplicity and low barrier to entry.
Vinyl Heat Transfer Method
- Cut out your design using a vinyl cutter or by hand.
- Weed the excess vinyl to reveal your design.
- Apply the design to your fabric with a heat press.
- Peel off the carrier sheet.
Tips for Success
- Choose appropriate vinyl for fabric type and desired result.
- Ensure proper cutting and weeding technique for intricate designs.
- Proper heat and pressure application for durability.
Pros and Cons
Pro: Low-cost startup. Easy to learn and DIY.
Con: Best for simple designs. Limited to solid colors.
Sublimation: When Unique Texture and Color Are Key
Sublimation is a process that uses heat to transfer dye onto materials such as plastic, card, paper, or fabric.
The Sublimation Process
- Print your design using sublimation ink and paper.
- Secure the paper with the design facedown on the fabric.
- Apply heat and pressure with a heat press.
- Remove the paper to reveal your vibrant design.
Tips for Success
- Use 100% polyester or polymer-coated items for best results.
- High resolution and detailed designs work best.
- Avoid heat and pressure causing design blurring.
Pros and Cons
Pro: Yields long-lasting, intricate designs.
Con: Limited to synthetic fabrics and lighter colors.
Repurposing Old Tees: DIY T-Shirt Transformation Methods
Your existing tees are more than just yesterday’s fashion. They’re a reservoir of potential, waiting for the right touch to bring them back to life.
Bleach Stenciling for a Vintage Vibe
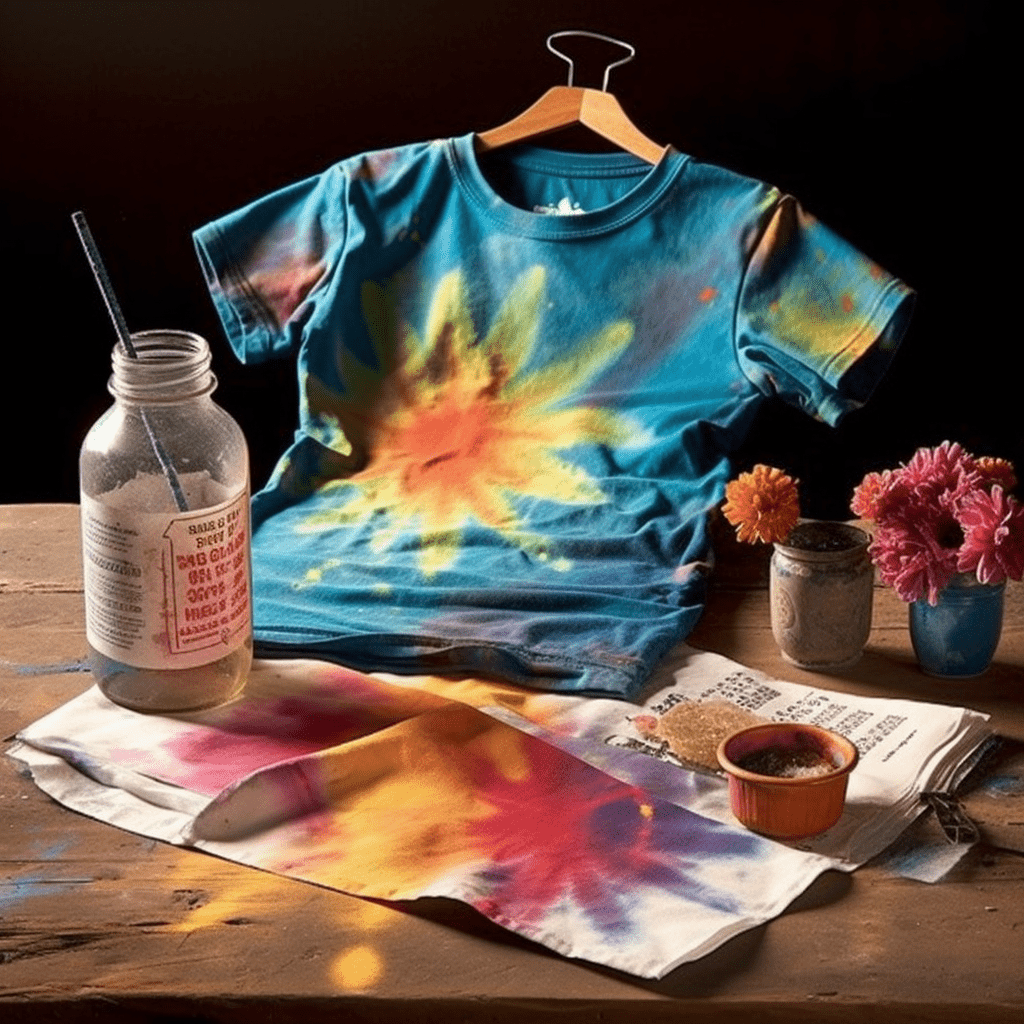
Bleach stenciling is an easy and inexpensive way to add a unique, faded design to any dark-colored fabric.
The Bleach Stenciling Process
- Create a design or stencil from sticky vinyl.
- Iron or otherwise affix the stencil to the fabric.
- Spray household bleach through the stencil.
- Remove the stencil and rinse the fabric thoroughly.
Tips for Success
- Test on a small, inconspicuous area first to gauge the strength of the bleach.
- Ensure proper ventilation and protective measures during use.
- Neutralize the bleach with a vinegar solution or another acid after rinsing.
Pros and Cons
Pro: Sharp, bold designs with quick and satisfying results.
Con: Limited to denim, dark cotton, polyester blends. Requires caution and proper handling.
Tie-Dyeing Techniques for Endless Whimsy
Tie-dye is the OG of at-home fabric customization, offering an endless array of colorful and organic patterns.
Tie-Dyeing Basics
- Twist, fold, or rubber-band your t-shirt to create patterns.
- Apply fabric dye generously to each section.
- Allow the dye to set for the recommended time.
- Rinse the excess dye and slowly unveil your design.
Tips for Success
- Use fabric dye or a 1:1 mixture of water and food coloring.
- Opt for cotton, rayon, or other natural fibers for best absorption.
- Patience is key as the results are revealed over time.
Pros and Cons
Pro: Every result is unique. Perfect for groups and family activities.
Con: Messy and time-consuming. Not suitable for those seeking specific designs.
Screen Printing for Professional Polishing
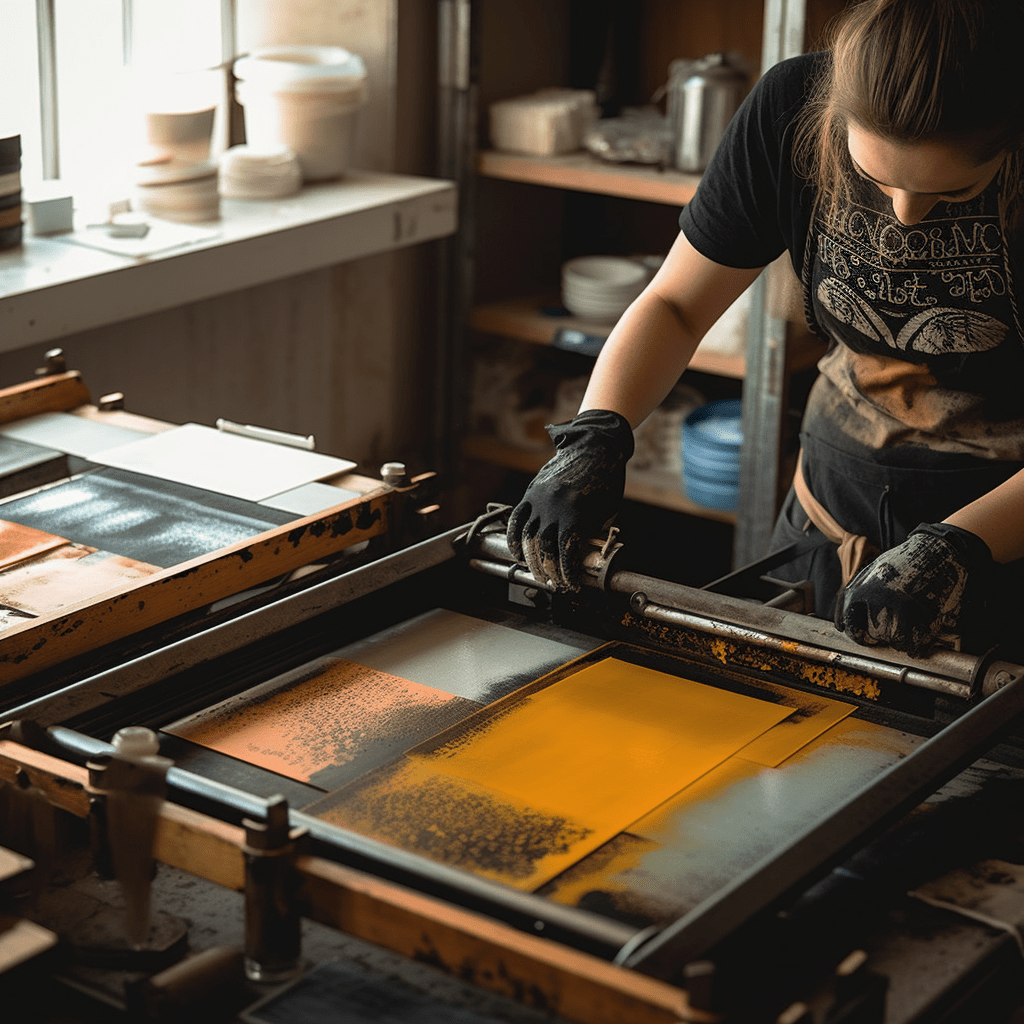
Screen printing may require a bit more setup, but the crisp, professional results are worth the effort.
Screen Printing at Home
- Create designs on a screen with photo emulsion or use a pre-made screen.
- Position the screen over the fabric and apply ink through the mesh.
- Carefully lift the screen to reveal your design.
- Cure the ink with a heat press or allow to air dry.
Tips for Success
- Practice proper screen exposure and ink application techniques.
- Test on scrap fabric to perfect pressure and consistency.
- Invest in quality screens and inks for the best results.
Pros and Cons
Pro: Consistent, high-quality results with quick application.
Con: Requires a larger setup and more specialized equipment.

