
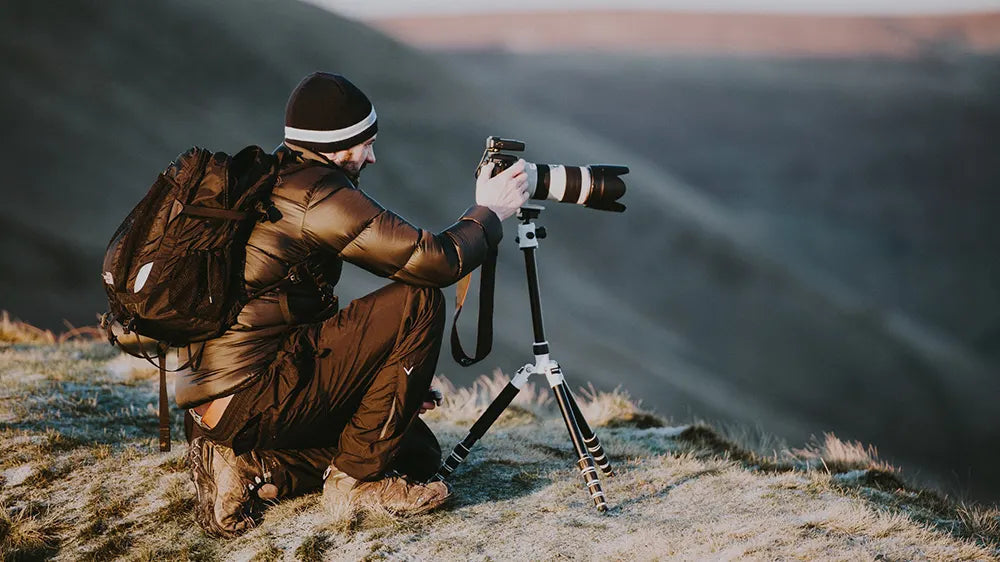
Have you ever gotten back from a beautiful mountain getaway or an awe-inspiring trip to the beach, only to be slightly disappointed by the snapshots you captured? Don’t worry, it happens to even the most experienced outdoor photographers. We’re here to help you take better photos of your travels this summer, and remember them forever on some gallery-quality custom decor.
The Best Camera For Outdoor Photography
In today’s world, there is an ocean of choices to choose from when it comes to camera gear. However, you don’t need to go shell out handfuls of cash to find the gear that can help you take great outdoor and landscape photos. In fact, many people, professional photographer and amateurs alike capture breathtaking scenes with just their smartphones!
Smartphone Cameras
Any experienced photographer will say “the best camera is the one that’s always with you”. Today, almost all of us have incredible cameras with us at all times, thanks to our handy smartphones. If you’re in the market for a phone that will step up your photography game - here are some of our favorites.
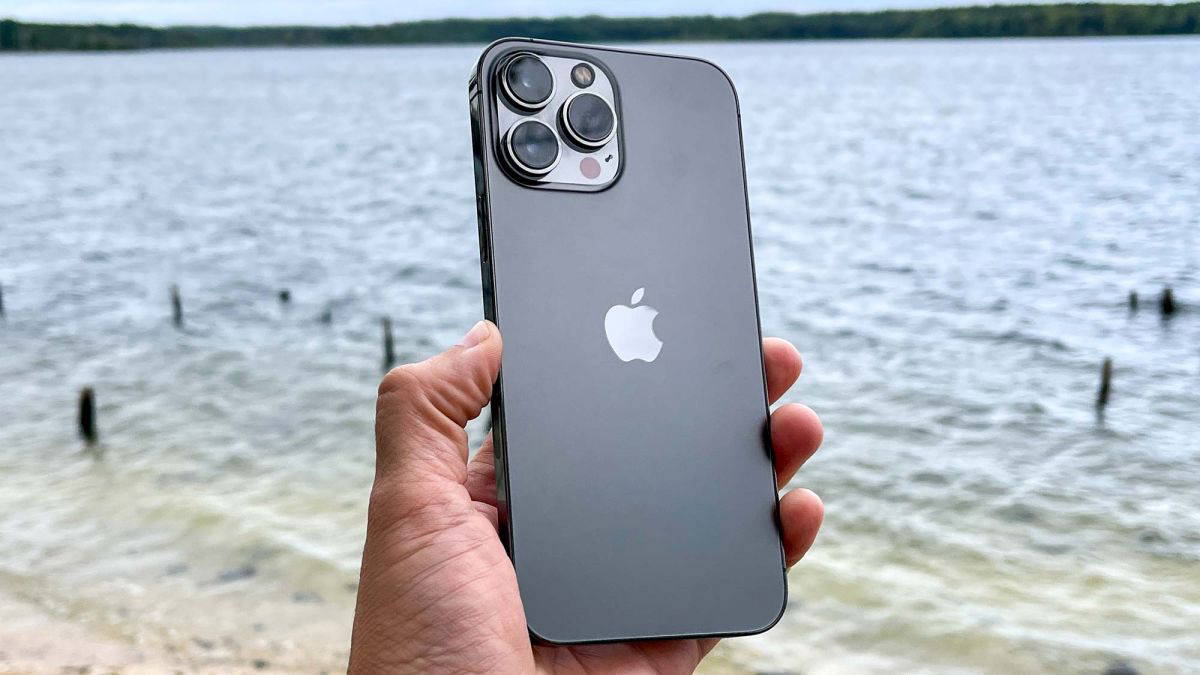
This year's iPhone sports a triple- lens set up, giving you an ultra-wide optic, a mid-range lens, and an impressive 3x optical "telephoto" lens. While not the most budget-friendly option its impressive new software makes large improvements to low light shooting and macro-mode.

With four separate lenses, one sporting a massive 108-megapixel sensor, the latest entry into the Galaxy line will help you capture incredible details with just your phone.
Google Pixel 6 Pro
"The best value flagship smartphone", the Google Pixel 6 benefits from Google's dedication to providing top-of-the-line smartphone photography. Its large 120-hertz display gives you plenty of space to compose your images.
While smartphones are becoming increasingly great cameras, if you really want to capture as much detail and color as possible from your outdoor adventures, getting your hands on a more serious camera is the way to go. After all, there’s a reason the pros lug around all that expensive gear.
Dedicated SLR Style Cameras
Buying a camera for landscape photography, or for any use, can definitely be a little intimidating. There are plenty of confusing specs, and features, that can confuse many beginner photographers, and the price tags can get really big, really fast.
Not to worry, you’ll find that even an entry-level camera can take your photography game from “snapshot” to “artwork”, without breaking the bank.
Here are a few of our favorite picks for the best cameras for outdoor photography for a variety of budgets.
Nikon Z50

The Nikon Z50 is a great way to step up from your smartphone without breaking the bank. A light yet durable body, available with two great kit lenses, this is the perfect camera to bring on all your travels.
CANON EOS RP
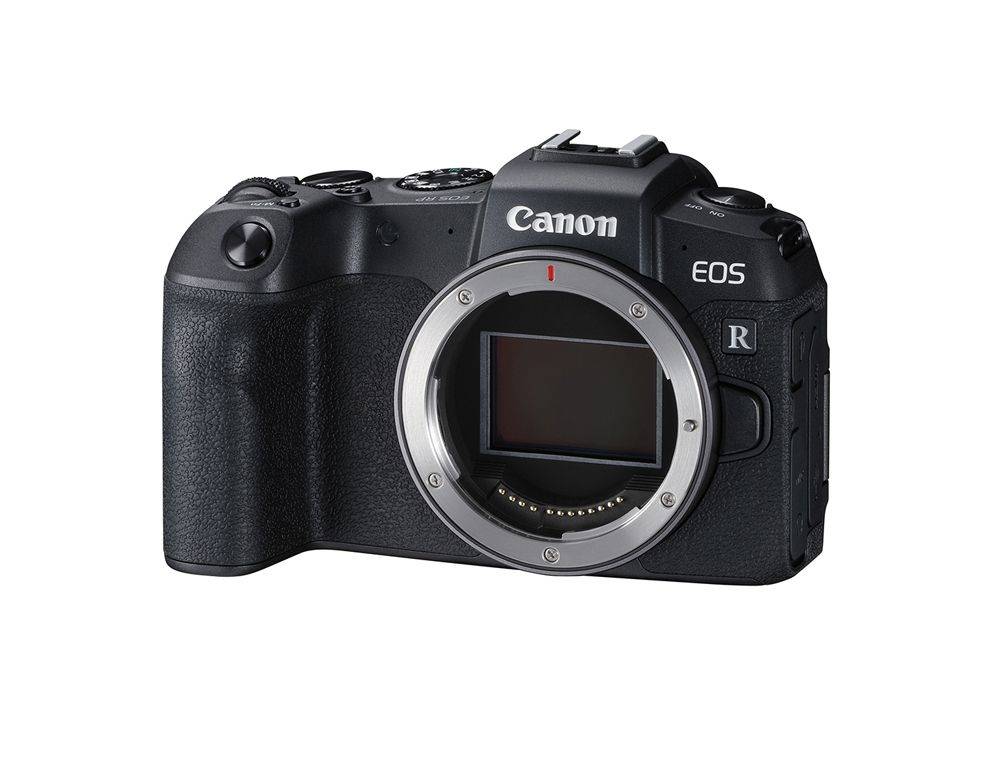
Although it's their it’s their cheapest full frame camera, the Canon EOS RP packs quite the punch with a high resolution 26 megapixel sensor. Featuring the new RF lens mount, it also lets you take advantage of Canons’s new incredibly sharp and innovative RF lens selection.
Fujifilm X100V
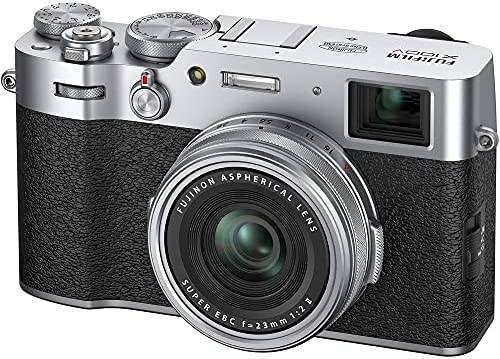
If portability and compactness are at the top of your list, the X100V from Fujifilm was made for you. Although it’s a fixed lens camera, you get Fuji’s classic, retro styling and awesome “film simulations” that allow you to customize your images right in camera.
Sony Alpha A1

“A flagship in the truest sense”, the Sony A1 might just be the camera to end all other cameras. Combining an incredible 50 megapixel sensor, 30 frames per second shooting, and a rigid build, it was built to handle any type of adventure or shooting situation you could dream of.
Where Will You Bring Your Camera?
One of the most important things to consider when choosing a camera for outdoor photography is the types of adventures you’re going to be bringing it on! For example, you might want to prioritize weight and compactness if you’re planning to bring your camera with you while hiking in the mountains. Also, many cameras are very well weather-sealed, making them better for shooting in sandy and wet climates like near the coasts.
Your Camera Is Simply A Tool
In our opinion, no matter the specs and features of your camera, the most important thing about it should be that it doesn’t get in the way of your creativity. A camera is merely a tool that you use to express your vision and helps you capture the shot.
CAmera Settings For Outdoor Photography
No matter what camera (or phone) you are shooting with, mastering its settings and taking full control of your camera is key to capturing great outdoor photos.
All cameras work to capture an image with the same 3 controls - shutter speed, aperture, and ISO. These three things determine a photograph's exposure or the amount of light that the camera is able to take in, hopefully resulting in an evenly lit and balanced photograph.
Commonly referred to as the “exposure triangle” making a change to one of these settings will impact the other, and getting a better understanding of how each setting relates to the others is something that requires time and plenty of practice.
Shutter Speed
First, let’s talk shutter speed. To put it simply this is the amount of time that the shutter is open and allowing light to hit your camera's image sensor, and it’s measured by fractions of a second. A long shutter speed, like ¼ of a second, will generally result in a brighter photo.
This is how astrophotographers are able to capture the light from distant stars and planets, using shutter speeds from 30 seconds to even hours long! If you’ve ever seen a waterfall photo where the water is blurred and looks like it’s moving over the rocks, it was made with a longer shutter speed, usually up to 1-2 seconds long.
Faster shutter speeds are used are capture and freeze motion and fast-moving subjects, like a football player running down the sideline, or birds in flight. These shutter speeds are typically at least 1/1000 of a second long.
Aperture
Next, is the aperture. This controls the actual size of the opening within the lens which allows light to come through and hit your camera's sensor. Larger apertures are represented by smaller numbers (or “f-stops”) like f/1.8, and smaller apertures are represented by larger numbers like f/16.
Not only does the aperture control the amount of light, but changing it will result in the amount of depth of field in your photograph, or how much of your photo is in focus. Portrait photographers will most likely want a smaller, or “shallow” depth of field, so they can get those smooth, blurry backgrounds that put all of the emphasis on their subject or model. They would most likely use an aperture of 1.4 to 2.8.
However, if you’re wanting to capture all of the details in a large vista of a beautiful mountain range, you’ll want a deeper depth of field. Common aperture values for outdoor photography range from f/8 to f/11.
ISO
Finally, ISO. Keeping an eye on your camera’s ISO is a must for outdoor photographs and all other kinds!
Your camera’s ISO value is a way to represent how sensitive your camera is to light. Most modern cameras can be set from ISO 100, all the way up to ISO 51,200. The higher the number, the brighter your photograph will be. Sounds like a lifesaver when you’re in darker situations like a sunset or just after dusk right?
Well, you’ll have to keep in mind that raising your camera's ISO will also result in something called noise or grain. This results in a loss of detail and will just generally make your photo look bad. If you want to really get into the nitty gritty that is the world of ISO, check out a great guide here.
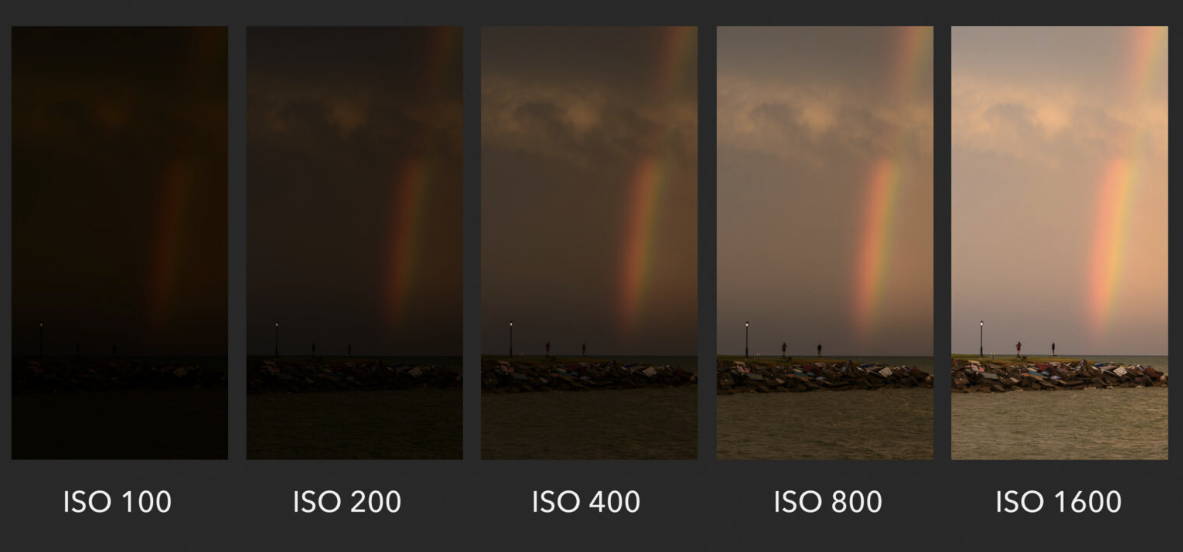
Credit - Photography Life
Mastering all three of these settings and understanding how they each affect each other can take many years. Seasoned photographers are able to change these settings on the fly confidently. However, before you dive right into shooting in full manual mode, try using shooting modes like Aperture Priority or Shutter priority which let you control one setting, and the camera controls the other. This is a great way to watch how changing one setting can impact the other.
OutDoor Photography Tips & Tricks
Outdoor photography is an expansive realm, with many different genres of photography falling underneath it. Below is a crash course on the two most common types of outdoor photography, outdoor portraits, and landscapes.
Outdoor Portraits
Taking photos of family, friends, or maybe even clients outdoors in beautiful places can result in amazing, breathtaking results. Shooting in natural light outdoors can be one of the most rewarded scenarios if you come prepared and are ready to react to weather and conditions.
When To Take Outdoor Portraits
Just about every portrait photographer will tell you that their favorite time to shoot is the golden hour. This appropriately named time of day is the hour or so just before the sun sets.

The reason that golden hour is so popular in outdoor portrait photography is because of the warm, indirect sunlight that it provides. As you can see, this soft light can make people great and helps photographers craft dreamy, romantic portraits that can help turn a photo into a cinematic moment.
Avoid Harsh Shadows
As stated above, the best light for portrait photography is soft, diffused light, which you now know can be found during golden hour. However, you’ll often find yourself shooting at other times other the day when the sun is higher in the sky and very bright. This can cause harsh shadows on your subject's face. This is not very flattering and often makes subjects squinty and uncomfortable.
An easy way to avoid this is by finding some shade! Getting your subjects out of the mid-day sun will always be better than trying to work in harsh lighting conditions.
A relatively affordable solution to reduce harsh sunlight is adding a diffuser to your camera bag. These can be held between the sun and your model and diffuse the harsh sunlight and cast a softer, more flattering light onto them.
Best Camera Settings For Outdoor Photography
To put it simply, there are no specific settings that we can recommend for portrait photography. This is because each lighting situation is different and constantly changing as light moves throughout the day & seasons. However, some general rules of thumb are.
1. Keep your shutter speed above 1/250 to avoid motion blur and camera shake.
2. Use a large aperture (like 2.8) to separate your subject from the background.
3. Shoot with an ISO from 100-800 to avoid noise and grain in your photo.
Outdoor portrait photography is often much more complicated than studio photography because you will always have to adapt to the given lighting conditions. Make sure you shoot as much as possible in challenging lighting situations to help you master the “exposure triangle” of shutter speed, aperture, and ISO.
Landscape & Nature Photography
You’ll find that the same times that work best for shooting outdoor portraits also apply to landscape photography. The same soft “golden” sunlight does a great job at lighting up the earth, just like people.
Shoot Landscape During Sunrise & Sunset
Many landscape photographers often wake up long before sunrise and hike down mountains after sunset to capture the sky at its best. During these times of the day, with the right conditions, the sky can light up with incredible colors, making landscape photographs much more visually arresting and attention-grabbing. Careful, once you’ve captured a sunrise or two, you’ll find yourself setting alarms for 4 AM on Saturday morning week after week!
Just take a look at these two photographs. Taken at the same spot, just hours apart. Which kind of photos do you want to take?
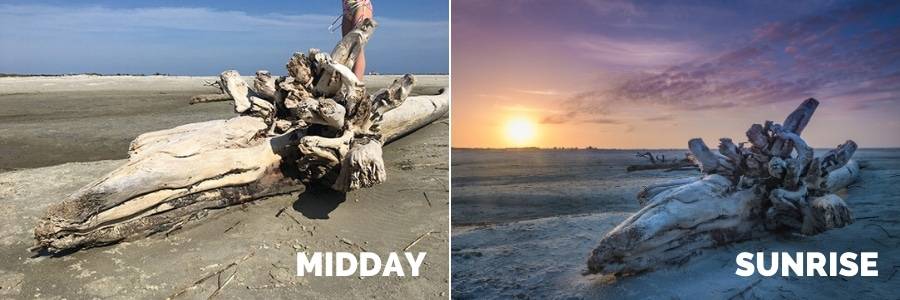
Credit - Schubert Photography
Use A Tripod
Aside from good weather, a tripod is a landscape outdoor photographer's best friend. Many landscape photographers even spend just as much money on their tripods as on their cameras, to ensure that their photos are sharp and steady. However, for most people, a $50 tripod will do just fine.
Why do outdoor photographers need their cameras to be so steady? As we talked about before, it’s all about keeping the lowest ISO possible, and a large depth of field (aperture). In almost all cases, these settings result in the sharpest, most detailed landscape photographs. However, they also result in needing to use a slow shutter speed, too slow to hand-hold. This is why photographers rely on their tripods to keep their cameras still.
Focus On Composition
One of the most popular buzzwords that you’ll hear outdoor and landscape photographers use is “composition”. This refers to everything that is in your photo and how they are visually arranged. For a striking and attention-commanding photograph, consider all of the aspects of your scene, and make sure that your composition is balanced and clear.
One of the most important questions to ask yourself is “Just what am I taking a photo of here?” & “Where does my eye settle in this scene?” Making sure your subject is clear and that your eye knows where to go throughout your photo will result in photos that are much more pleasing to look at.
Also, any great wide-angle image contains a foreground, middle, and background. Learning how to include and balance each of these elements could be its own article. However, the most important tip is to try to lead your viewer through the photo, starting in the foreground and ending in the sky.
Finally, also consider what you should exclude from your outdoor photos! The odd branch jutting in from the edge of a frame, or the tourist peeking over a cliff can be distracting and pull focus away from your subject.
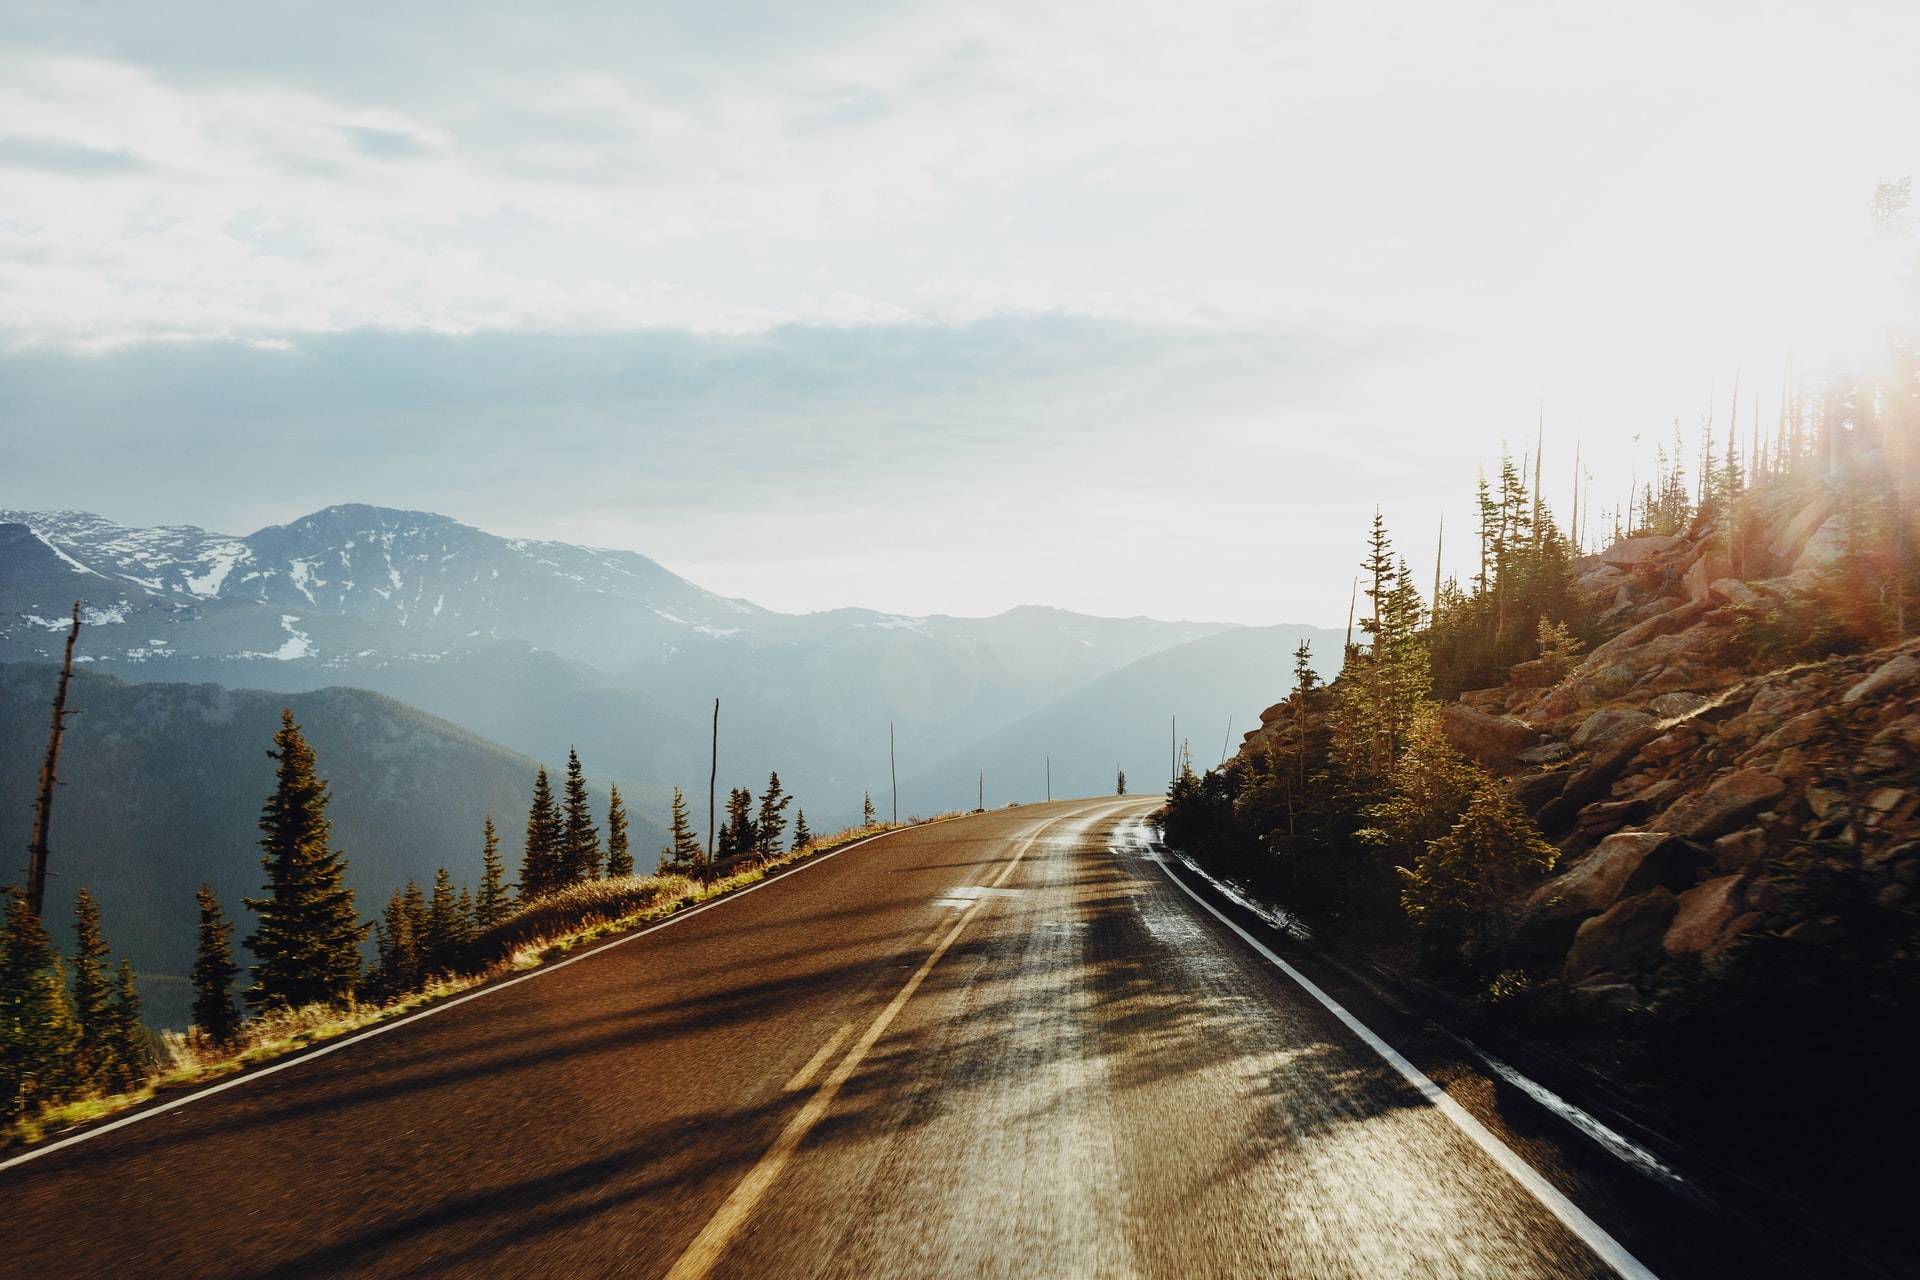
Use Scale To Show The Vastness Of Your Scene
However, not all landscape photos need to be free of hikers, tourists, or people. Sometimes, including them (in a carefully considered) area of your frame can help to show the scale of your photo. For example, say you’re shooting a wide-angle photo of a mountain. With no context, your viewer doesn’t really know just how massive the mountain is.

However, our brains are very good at comparing things to the size of the average human. When you can compare the mountain to a hiker in your photo, your viewer can get a better sense of the grandiose of your scene.
Best Camera Settings For Landscape Photography
While most landscape photographers do lose some sleep waking up early to catch the sunrise and hike up mountains in the dark, they do benefit from being able to take their time, and compose each shot with great care. I mean, the mountains, stars, or the beach aren’t going anywhere soon! Here are our best recommendations for your camera settings for the best landscape results possible!
1. Use that tripod! This will allow you to use slower shutter speeds, and keep your ISO as low as possible for the cleanest image.
2. Stop down your aperture! Using a smaller aperture like f/11 will result in more of the details in your photo being sharp and in focus!
Wildlife Photography
A much more niche area of outdoor photography, wildlife photography can be a challenge for an inexperienced outdoor photographer. First, there's just no getting around the fact that most types of wildlife are well, wild, and don't particularly enjoy humans getting too close. This introduces the need for a telephoto lens and more specialized tripods, which are big on weight and cost. However, they do allow wildlife photographers to take incredible images of animals from more than a safe distance, which can more than justify the cost.

Some of the best places to get started with wildlife photography are National Parks! With over 400 in the United States alone, there is plenty of incredible scenery and wildlife to be found, and tons of information on where exactly to go within parks. Be sure to follow Leave No Trace principles while in our national parks!
Make The Most Of Your Outdoor Photos - Print Them!
Today, so many of our favorite photos are sadly only enjoyed on our tiny phone screens. Don’t let your incredible photos be destined to be forgotten after all of your family and friends leave a like and scroll away!
Get your outdoor photography printed, and printed BIG! If you have some scenic outdoor photos that you’re proud of, there is simply no better way to enjoy them than on your wall in your own home, every day. The team here at CanvasPrints.com is here to help you do just that.
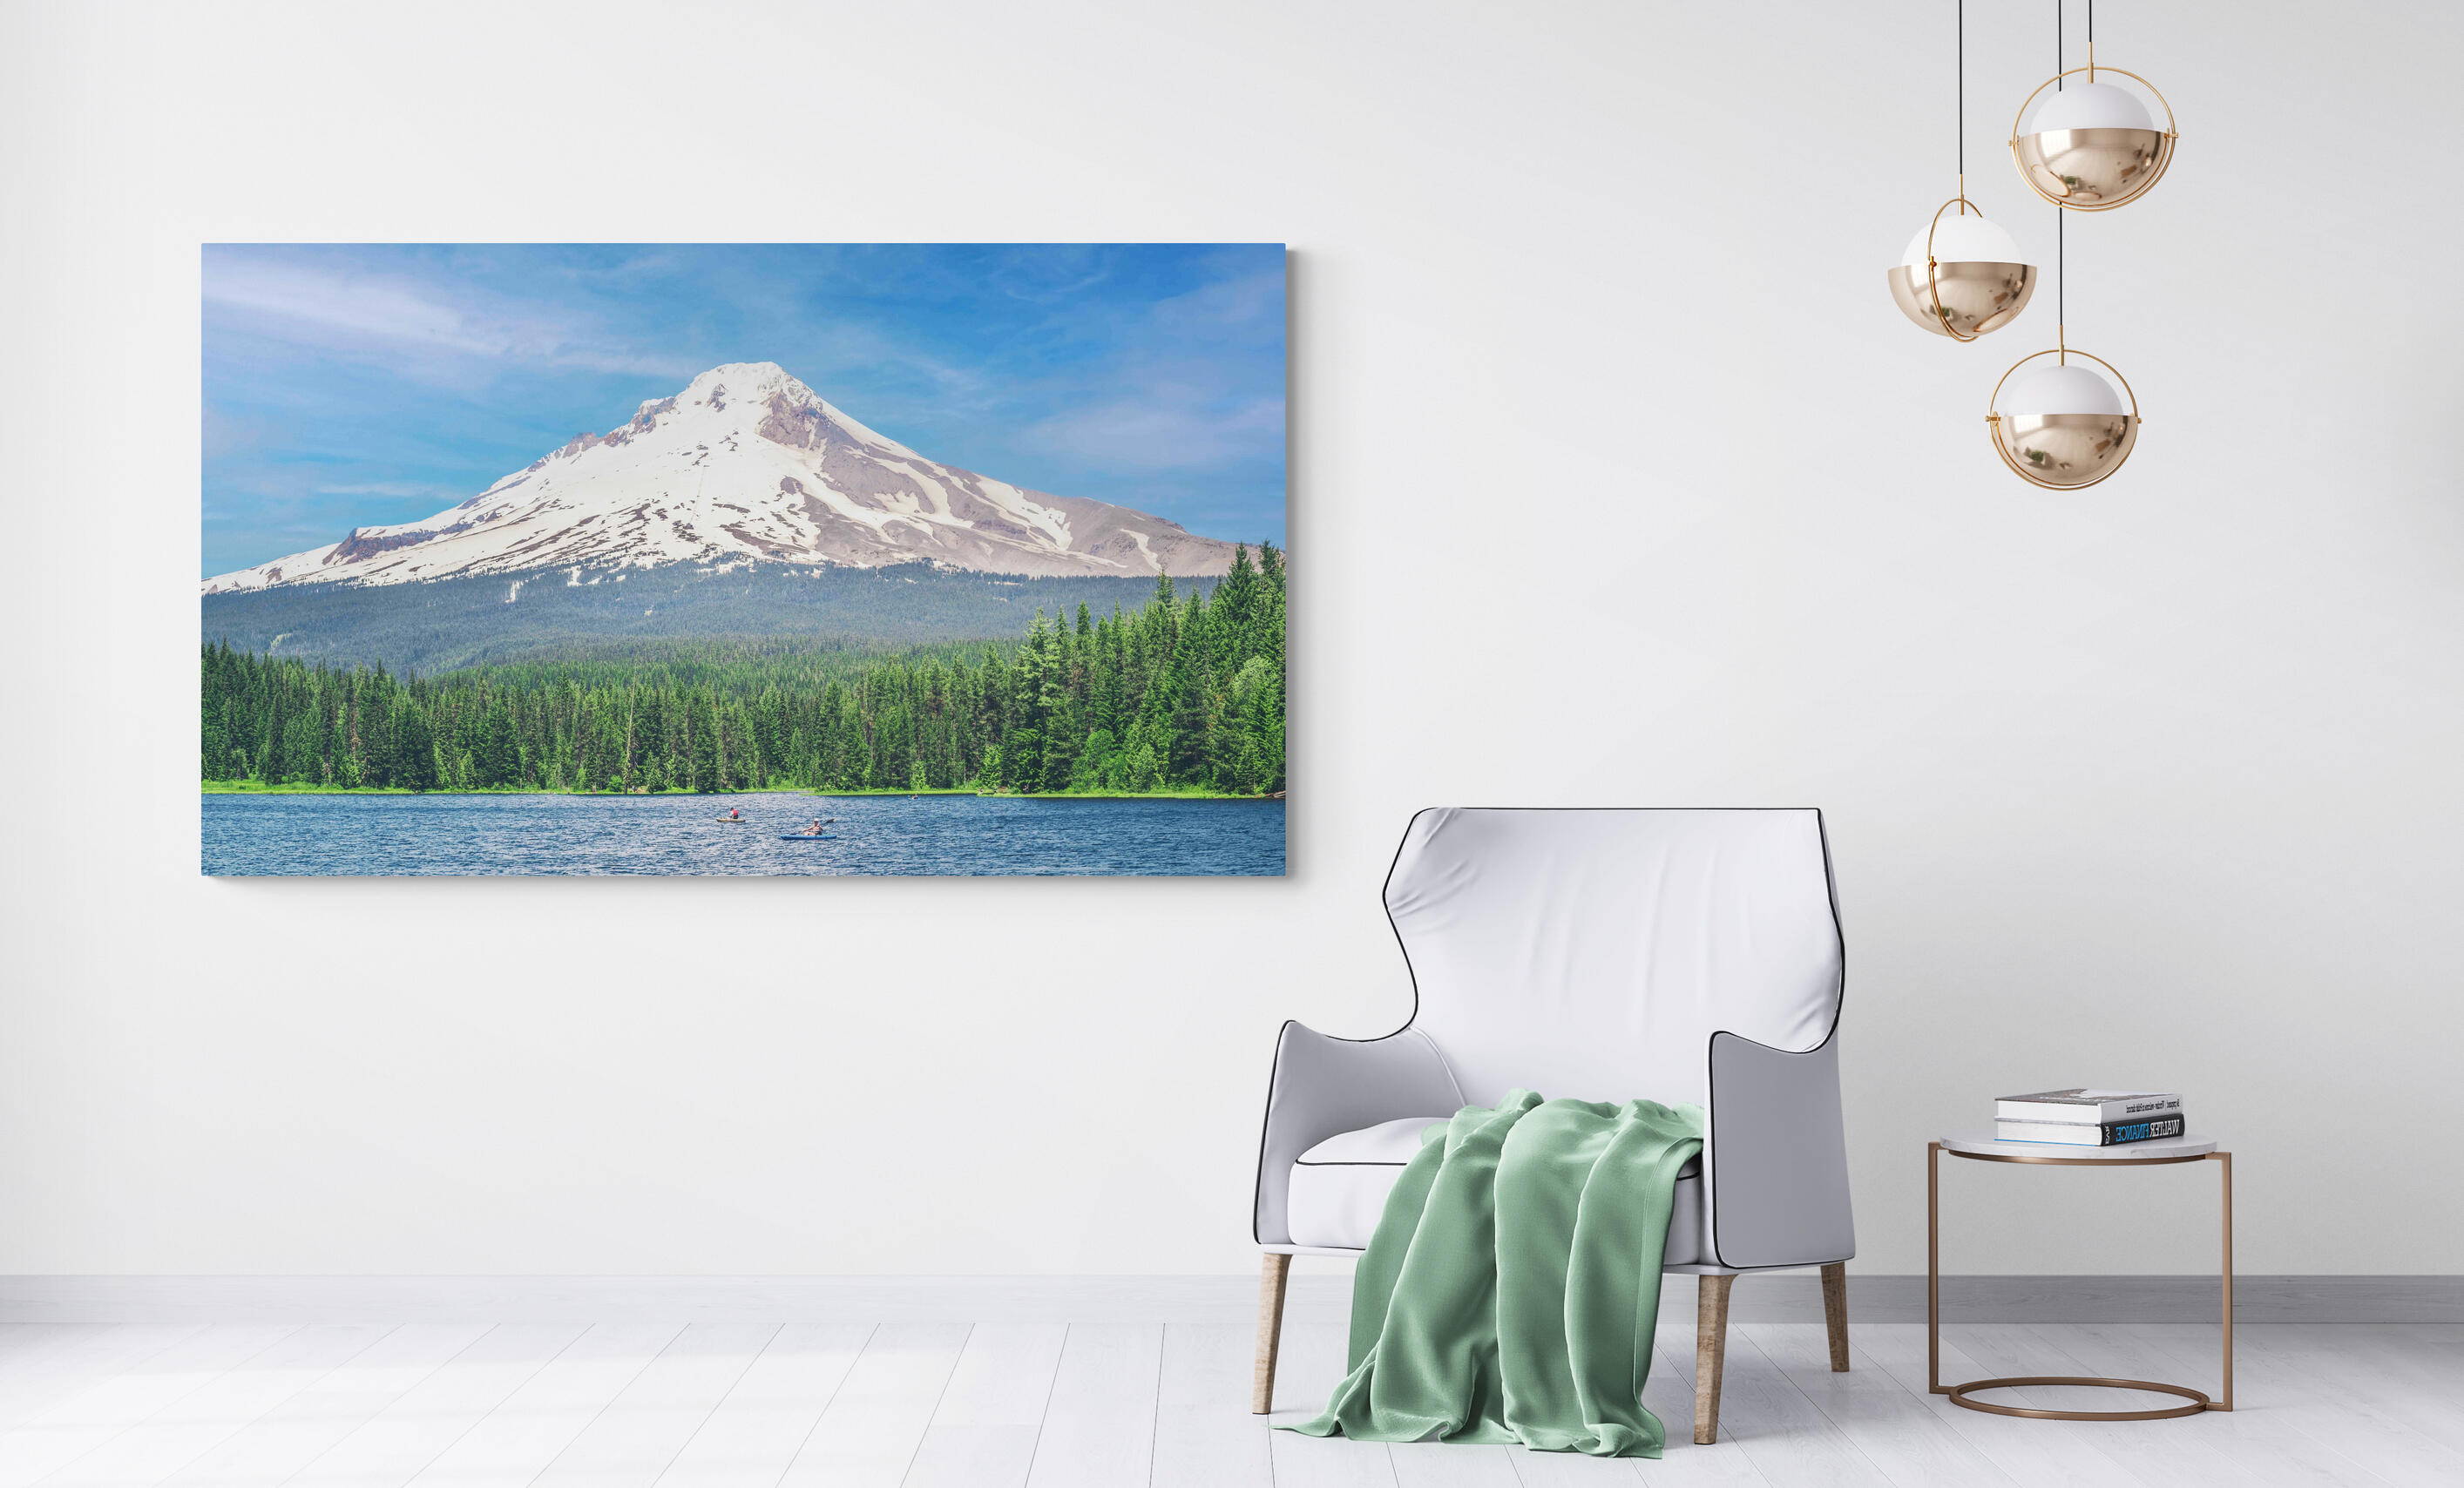
Our new high-tech printing facility allows us to print all the way up to 60 inches tall or wide on gallery-quality canvas. We take the privilege of printing your favorite photos seriously. We use only the best, American-made cotton blended canvas, and eco-friendly water-resistant inks. These large format canvas prints can transform an entire room and will have your friends and family picking their jaws up off the floor. Bring gallery and professional quality canvas prints to your walls with just a few clicks!

Get even more creative with one of our most dynamic printing formats, canvas triptychs! Use three vertical canvases to showcase a single horizontal image, and prepare to answer all kinds of questions from your neighbors. Triptychs are great centerpieces for any large room and add an extra layer of character to your best outdoor photographs. They work great for minimalistic photos like seascapes and mountain ranges.
We didn’t stop at canvas though! Be sure to check out our sleek and modern metal prints, that will only enhance all of the detail and color in your photos. Available in sizes up to 36” inches wide, these are perfect for super high-resolution photographs with loads of contrast and color.
Once your walls are full, you can even decorate the sofa and wrap yourself in your favorite photos with our custom pillows and blankets!