

It is never a bad time to spruce up your living room or finally fill that blank wall that you have been staring at for years now. You have likely wondered what can you do that would look great in that spot, but wouldn’t be overbearing. Canvas prints provide a flexible medium where you can choose from a variety of sizes to fit any shape. This wide range of sizes also allows you to have more than one print in a single display.
When opting to have more than one canvas print in a space it is important to figure out the perfect amount of space to leave between each canvas print. We’ve compiled the best tips and tricks to make sure your canvas prints display beautifully on your wall.
Step 1: Evaluate Your Space
Before you even order your gallery-quality canvas prints, it is important to take a look at the area where you want to hang the canvas. Using a tape measure, measure the space, and determine the maximum of what can fit.
This can be anywhere from a small 8” x 8” canvas print to a 40” x 40” custom canvas print. After you have figured out the maximum size of what can fit, you need to ask yourself a few questions.
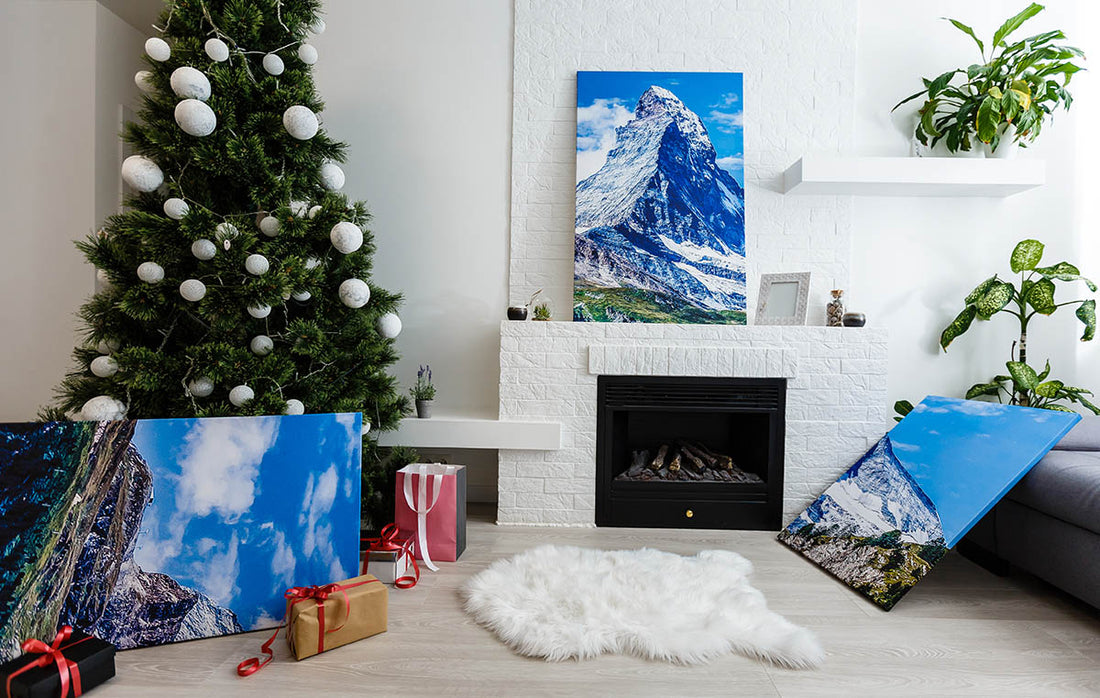
First, what is the style you are going for? Are you wanting to have a standalone canvas print that sticks out to your guests, or are you wanting a tall, gallery-wall that tells an entire story?
We’ve seen anywhere from 1-10 canvas prints in a single place. Neither of these options is better than the other, it is simply about how much space you have and what style you are going for. The next question to ask is what imagery will you be putting there.
For example, a scenic landscape print may be better if it is by itself, whereas a family portrait may look great with a series of similar photographs.
After you have determined these facets, you are ready to order your canvas prints. When ordering your canvas prints, there are a few options you will be faced with other than size.
You will be able to select the depth of the canvas and the color of the canvas border. Each of these options depends on your personal tastes and the color of your wall.
Step 2: Map It Out
The day you receive your stunning canvas prints, you may be eager to hang them up. However, before you make a permanent hole in your wall, it is smart to lay them out on the floor to get an idea of what they will look like hanging.
This will help to visualize the flow of your canvas prints and make any adjustments that you may see fit.
After you have determined the placement on the floor, start marking on the wall. By holding each canvas up to the wall and using a pencil, you will be able to mark the space where you want the print to hang.
This will help guide the hanging process and ensure a perfectly placed canvas the first time around.
Step 3: Hang Your Canvas Prints
Here comes the exciting part! Grab a hammer and some nails and you are ready to start. Since you have already marked where you will be hanging each canvas, simply hammer a nail or two in each spot.
Our canvas prints come pre-fashioned with a hanging kit so you do not need to worry about installing a hanger on the back of your canvas. Hang the canvas and eyeball or use a level to get it completely straight.
After you have hung each canvas, you can step back and enjoy the fruits of your labor. Since canvas prints are much lighter than traditional framed prints, it is easy to move them around and nail new holes if you change your mind.
Our prints are built to last with 100% American materials, meaning you will be able to cherish your precious photographs for years to come.
A canvas print is a perfect way to put the finishing touch on your interior decor!